Connecting a camera to a telescope – here’s how to do it
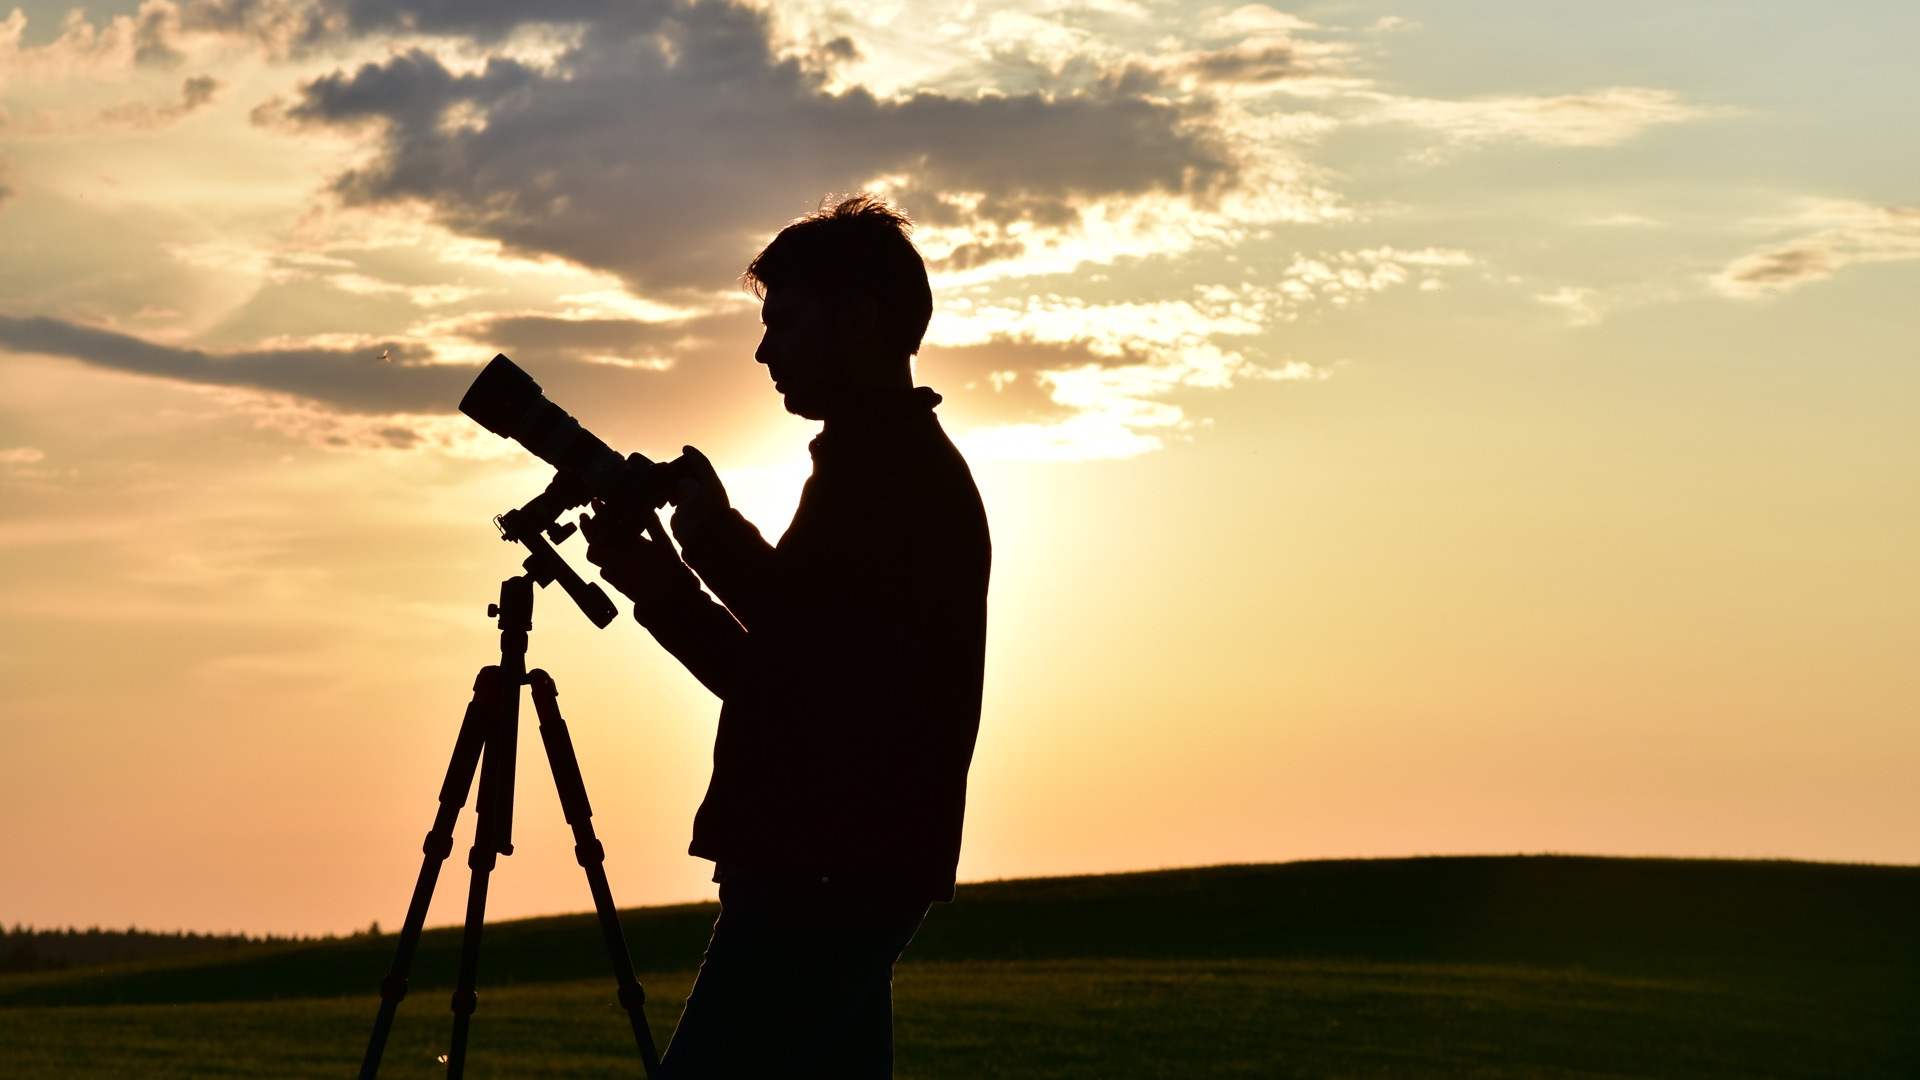
Do you want to capture your observations with your own photographs? Step-by-step: how to connect your camera to your telescope.
You'd like to get started with astrophotography and, finally, take your own pictures?
That’s a great idea, and you’re not the only person with this dream. Last year, 72% of our customers were also thinking about astrophotography.
With today's possibilities, this goal is within your reach. Since the days of modern smartphones, just about everyone has become a photographer. But not an astrophotographer; that would seem to be more difficult. But don't worry, we can do something about that! With this simple illustrated guide you’ll be taking your first astronomy photos faster than Donkey Kong can grab his bananas.
Why do I need a DSLR camera?
We are using a DSLR, that is a digital single lens reflex or system camera.
The advantages are clear:
- You don't have to invest in a special astronomical camera, and you can use this camera during daytime as well
- DSLRs work autonomously and do not need lots of cables or a laptop
- They can be connected to a telescope using two simple adapters
This means that your first astronomy photographs are especially easy.
There is one small limitation: we can't take photos of planets!
DSLR and system cameras are well suited for the Moon and deep sky objects. But not so good for planets. This is due to the technology used to take modern and sharp planetary photos. You can find out more about this in our article Astrophotography for beginners.
Which of your camera settings must be adjustable?
The next selfie at the family gathering with all your relatives? Your camera will usually do this automatically. All you have to do is smile – or, depending on the situation, grin and bear it. That’s it - the photo is ready.
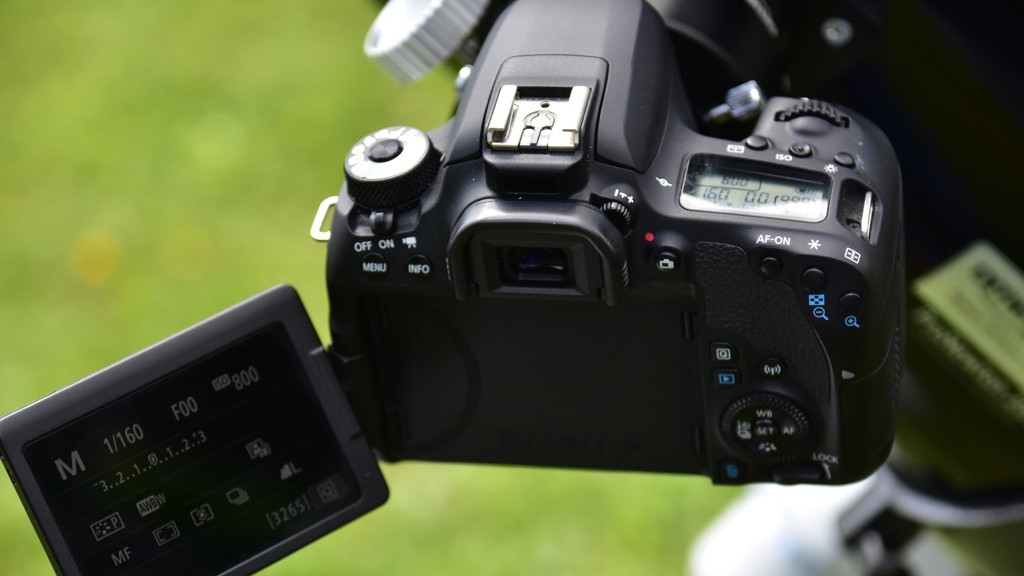
You can't do that with astrophotography. Instead, you must select all the settings manually. Don't worry, it's actually very easy. Which settings are best to use? Here is a list of our recommendations:
- Set function from automatic to manual (M)
- ISO: 400-1000
- Manually select exposure time and test according to subject (1/250 to 30 seconds)
- White balance set to daylight
- Best image quality, probably uncompressed RAW format
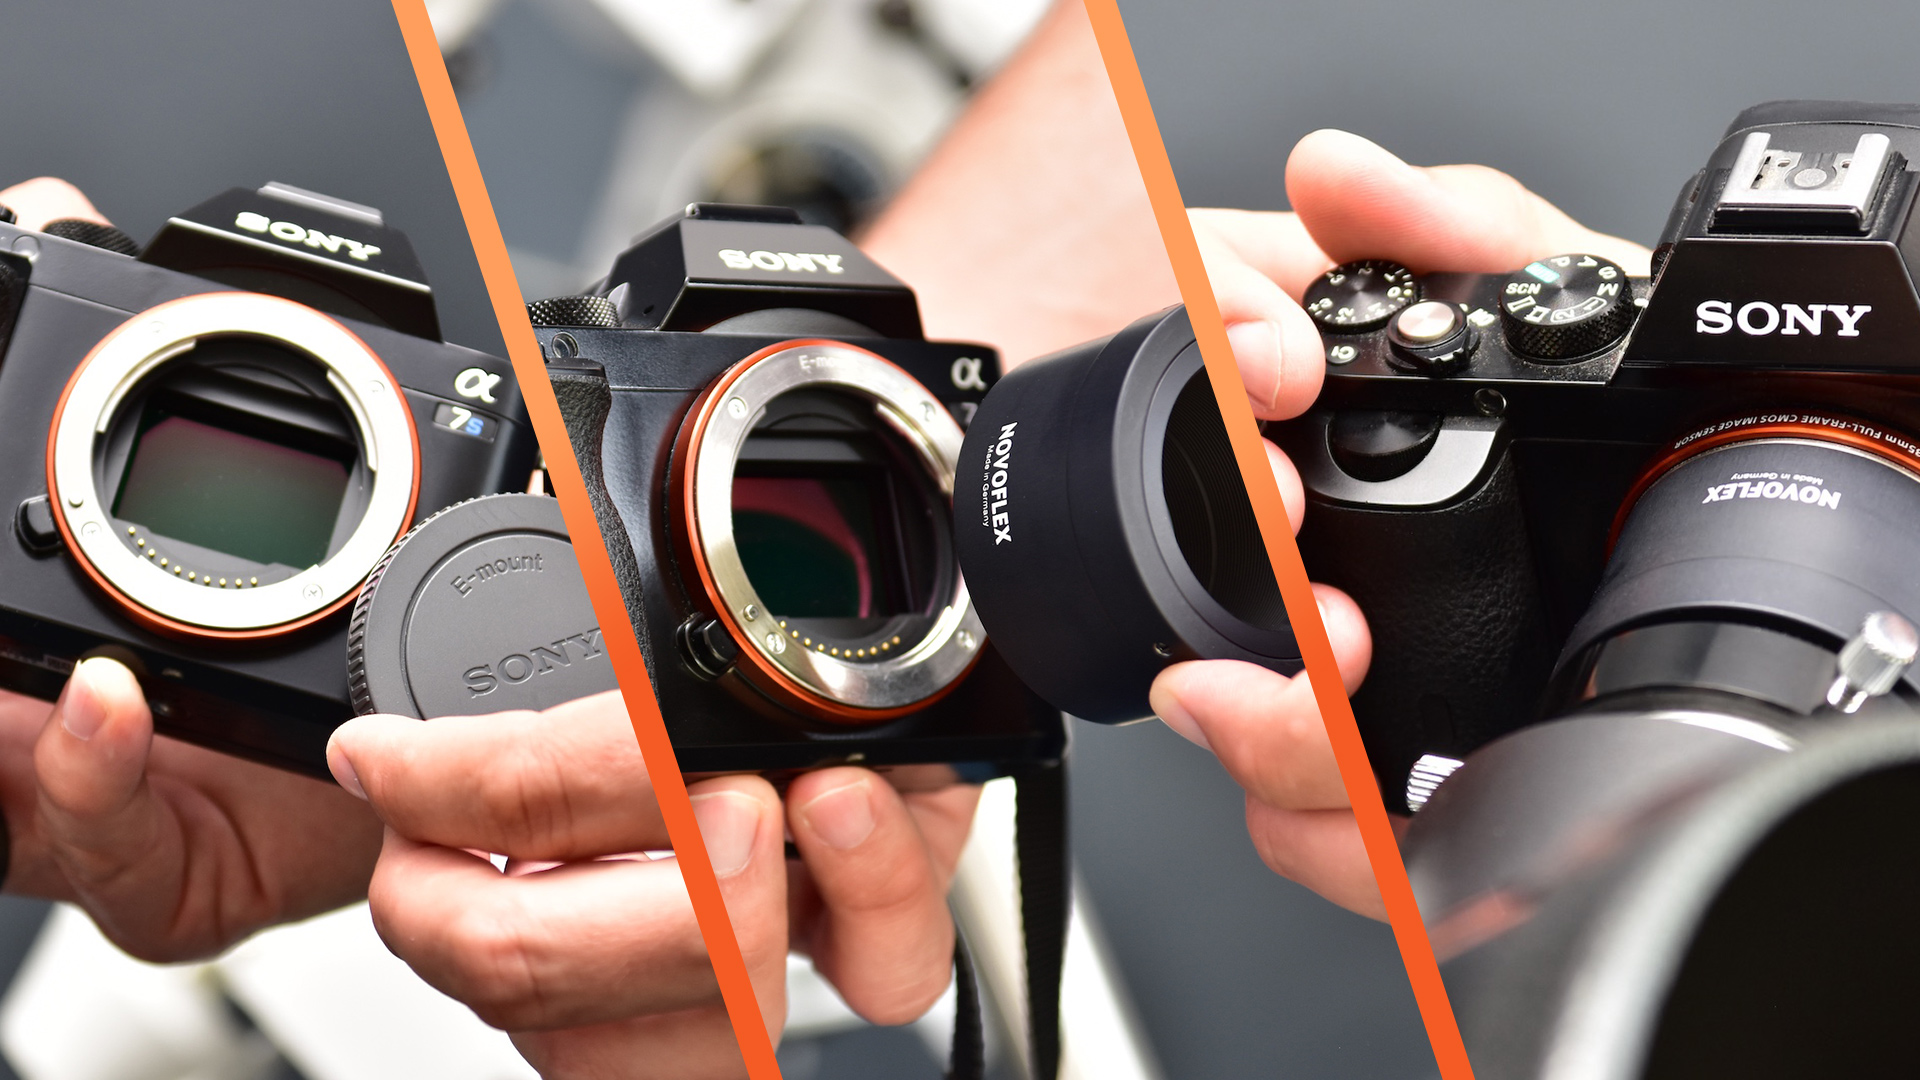
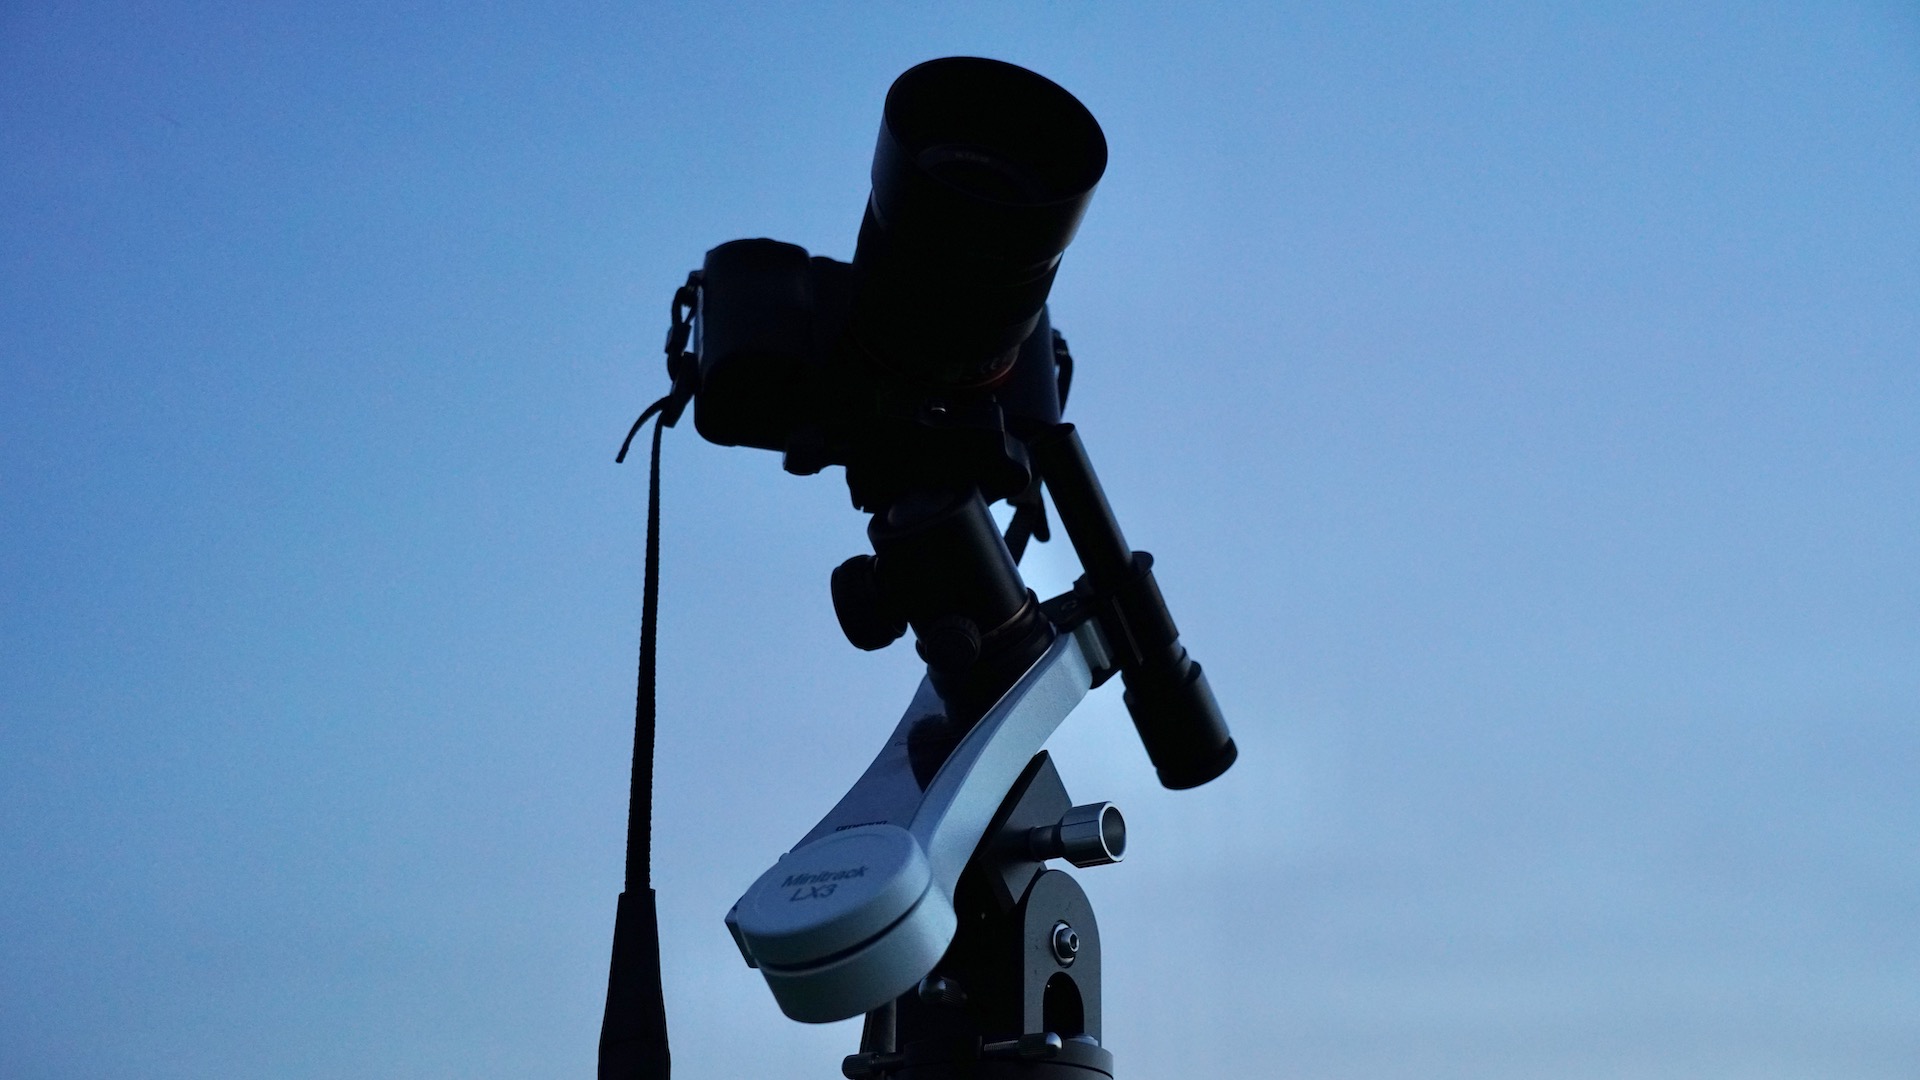
Step-by-step: how to connect your camera to your telescope
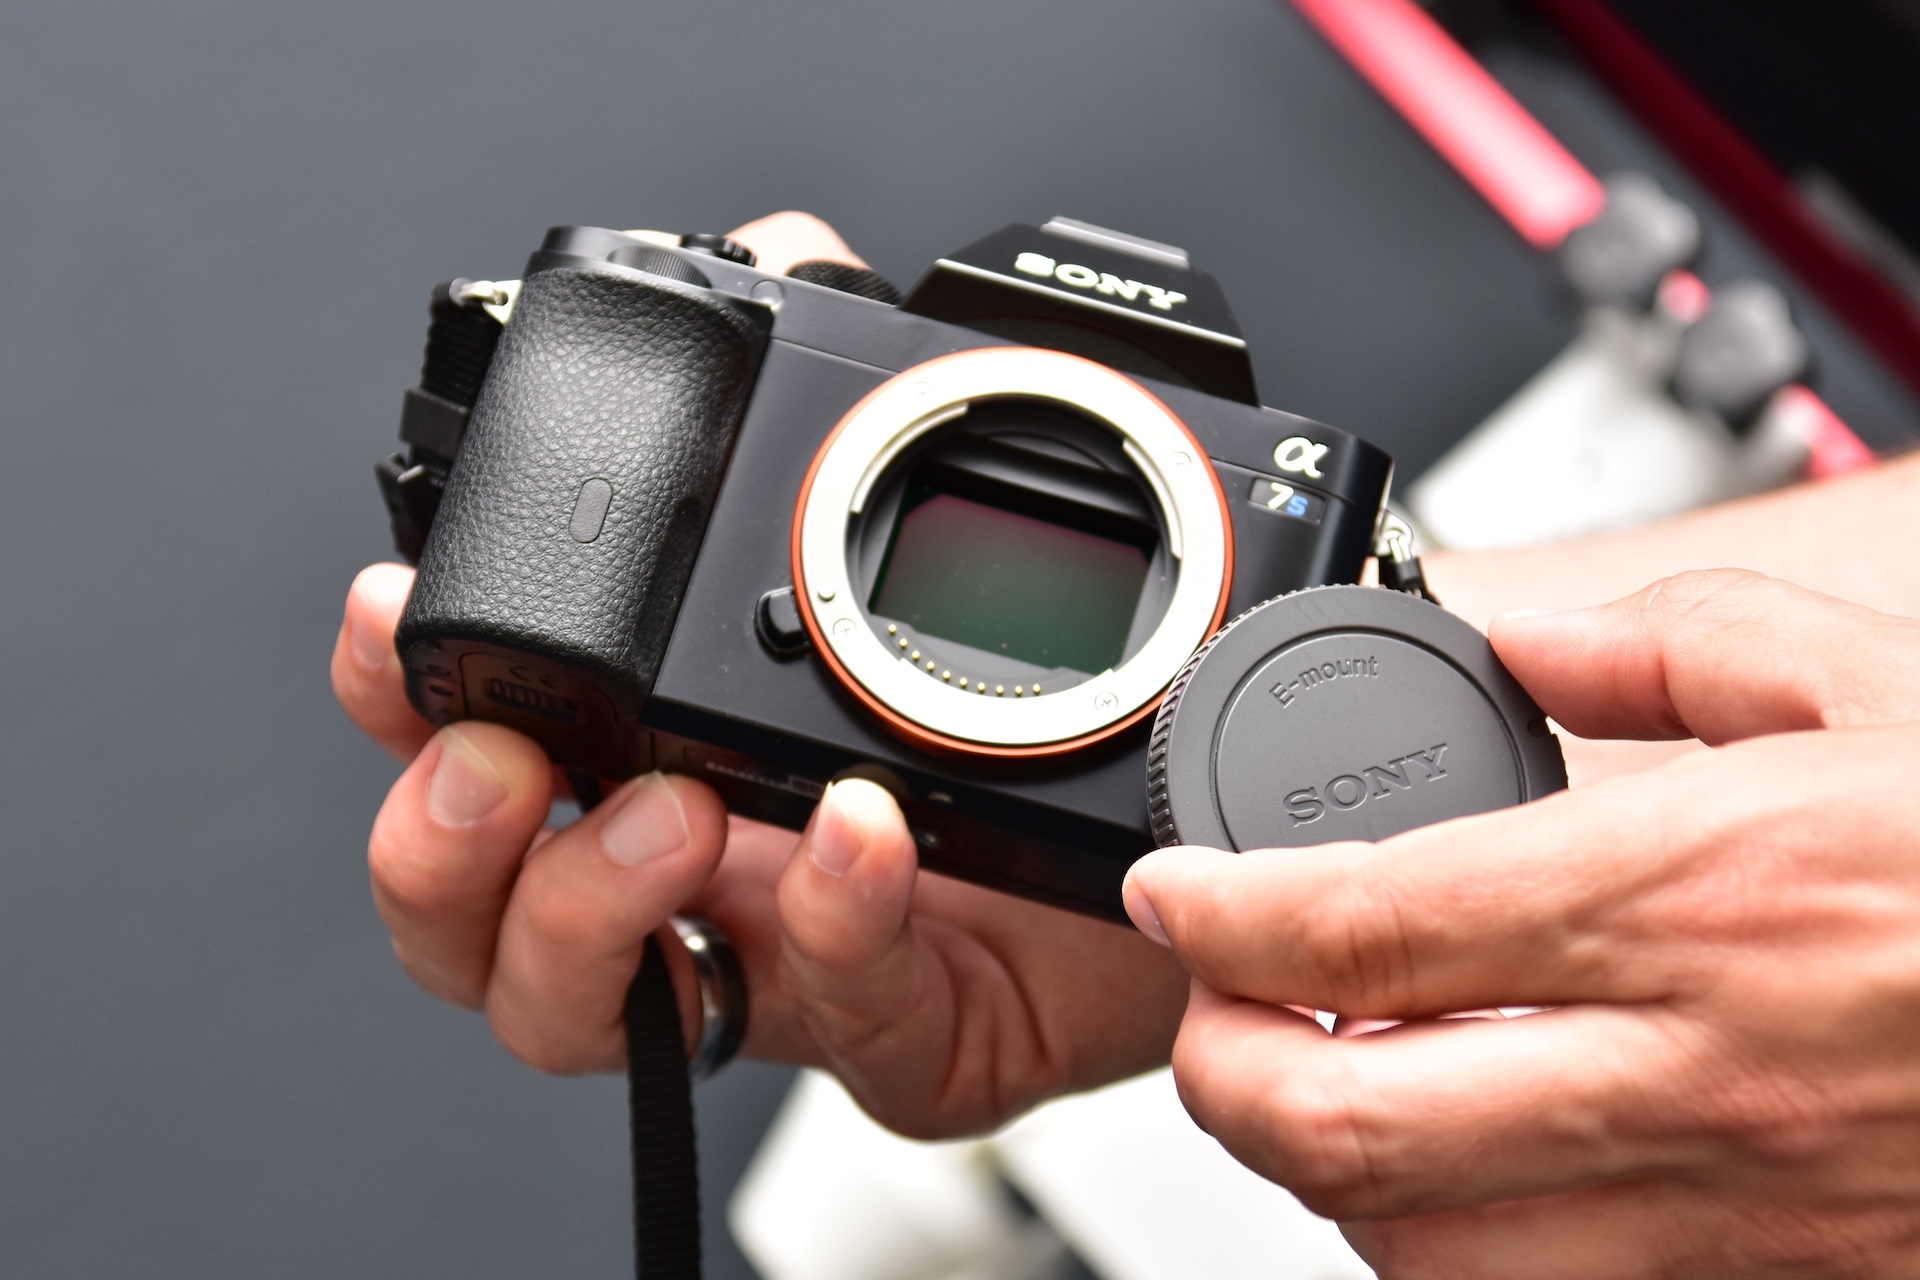
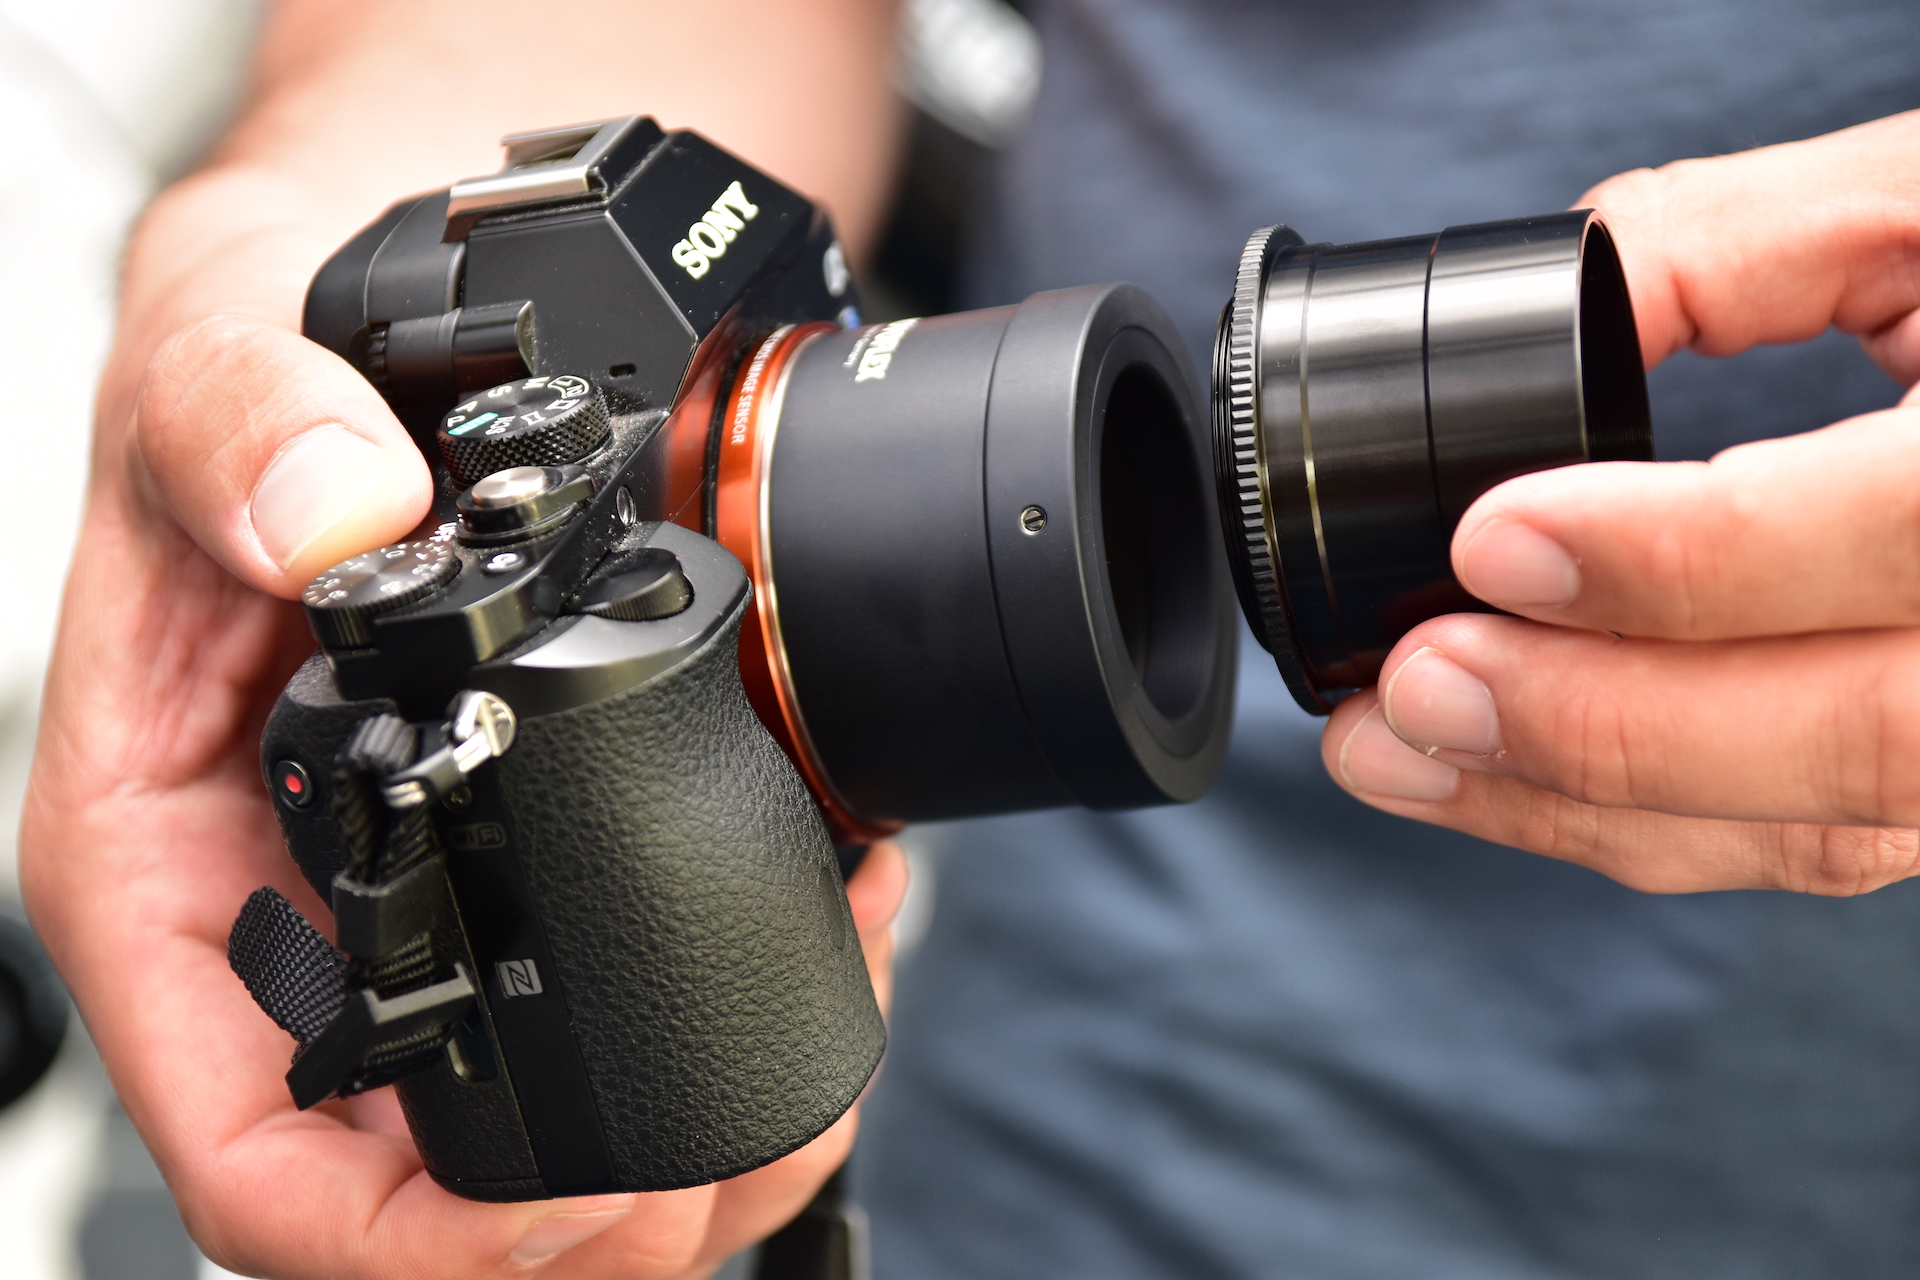
Remove the lens from the camera.
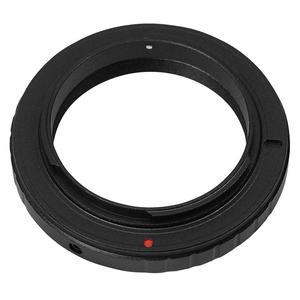
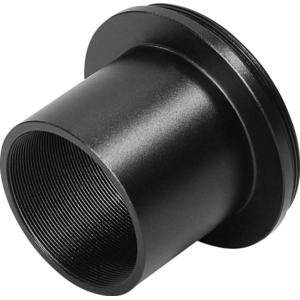
Attach a T-ring ...
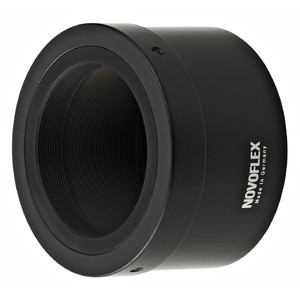
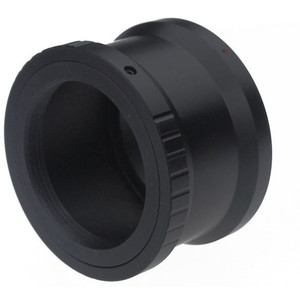
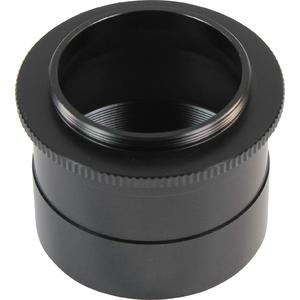
... and then attach either a 1.25" or 2" adapter to the T2 thread.
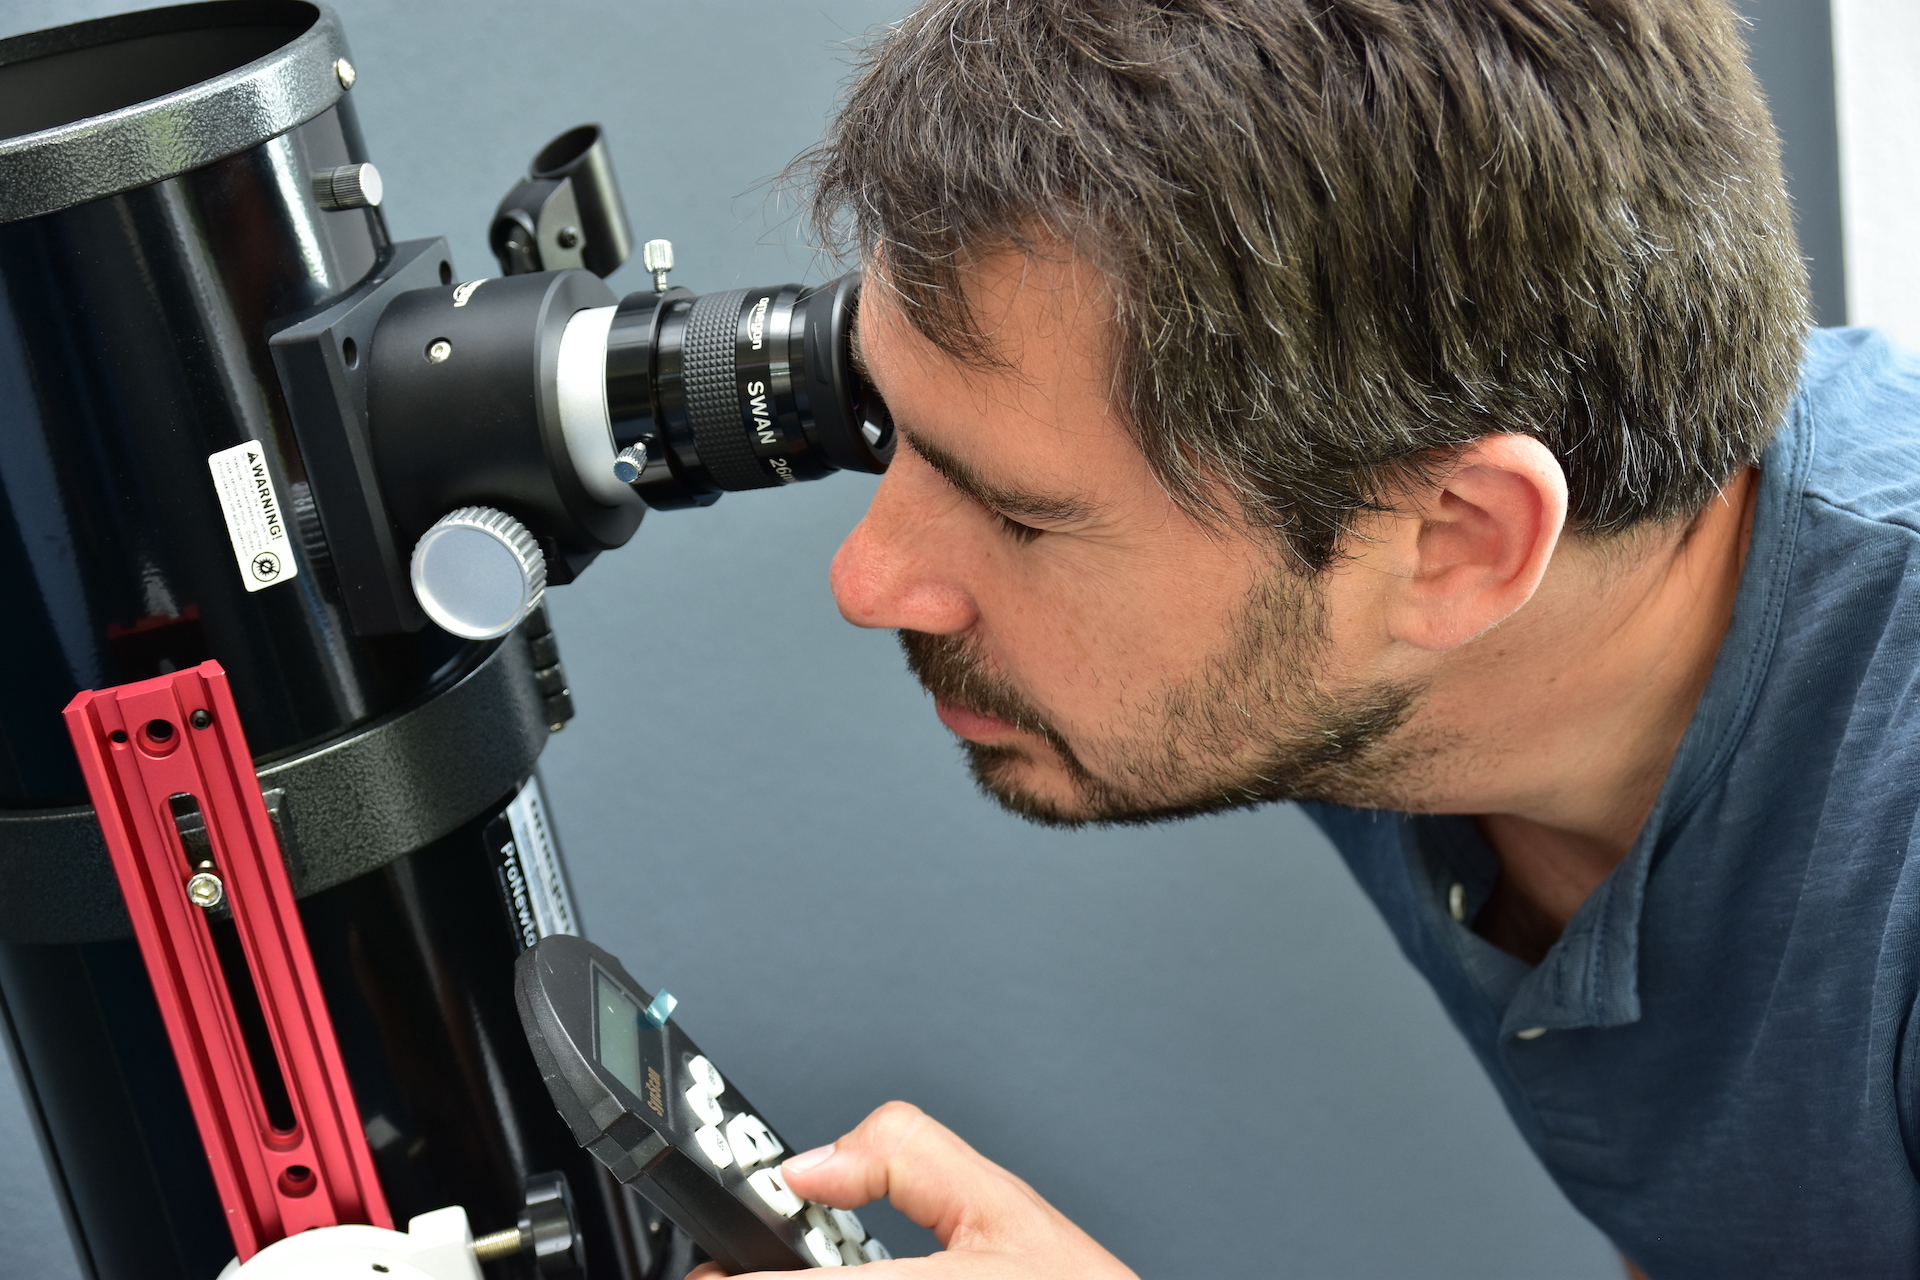
Pan the telescope to a bright star ...
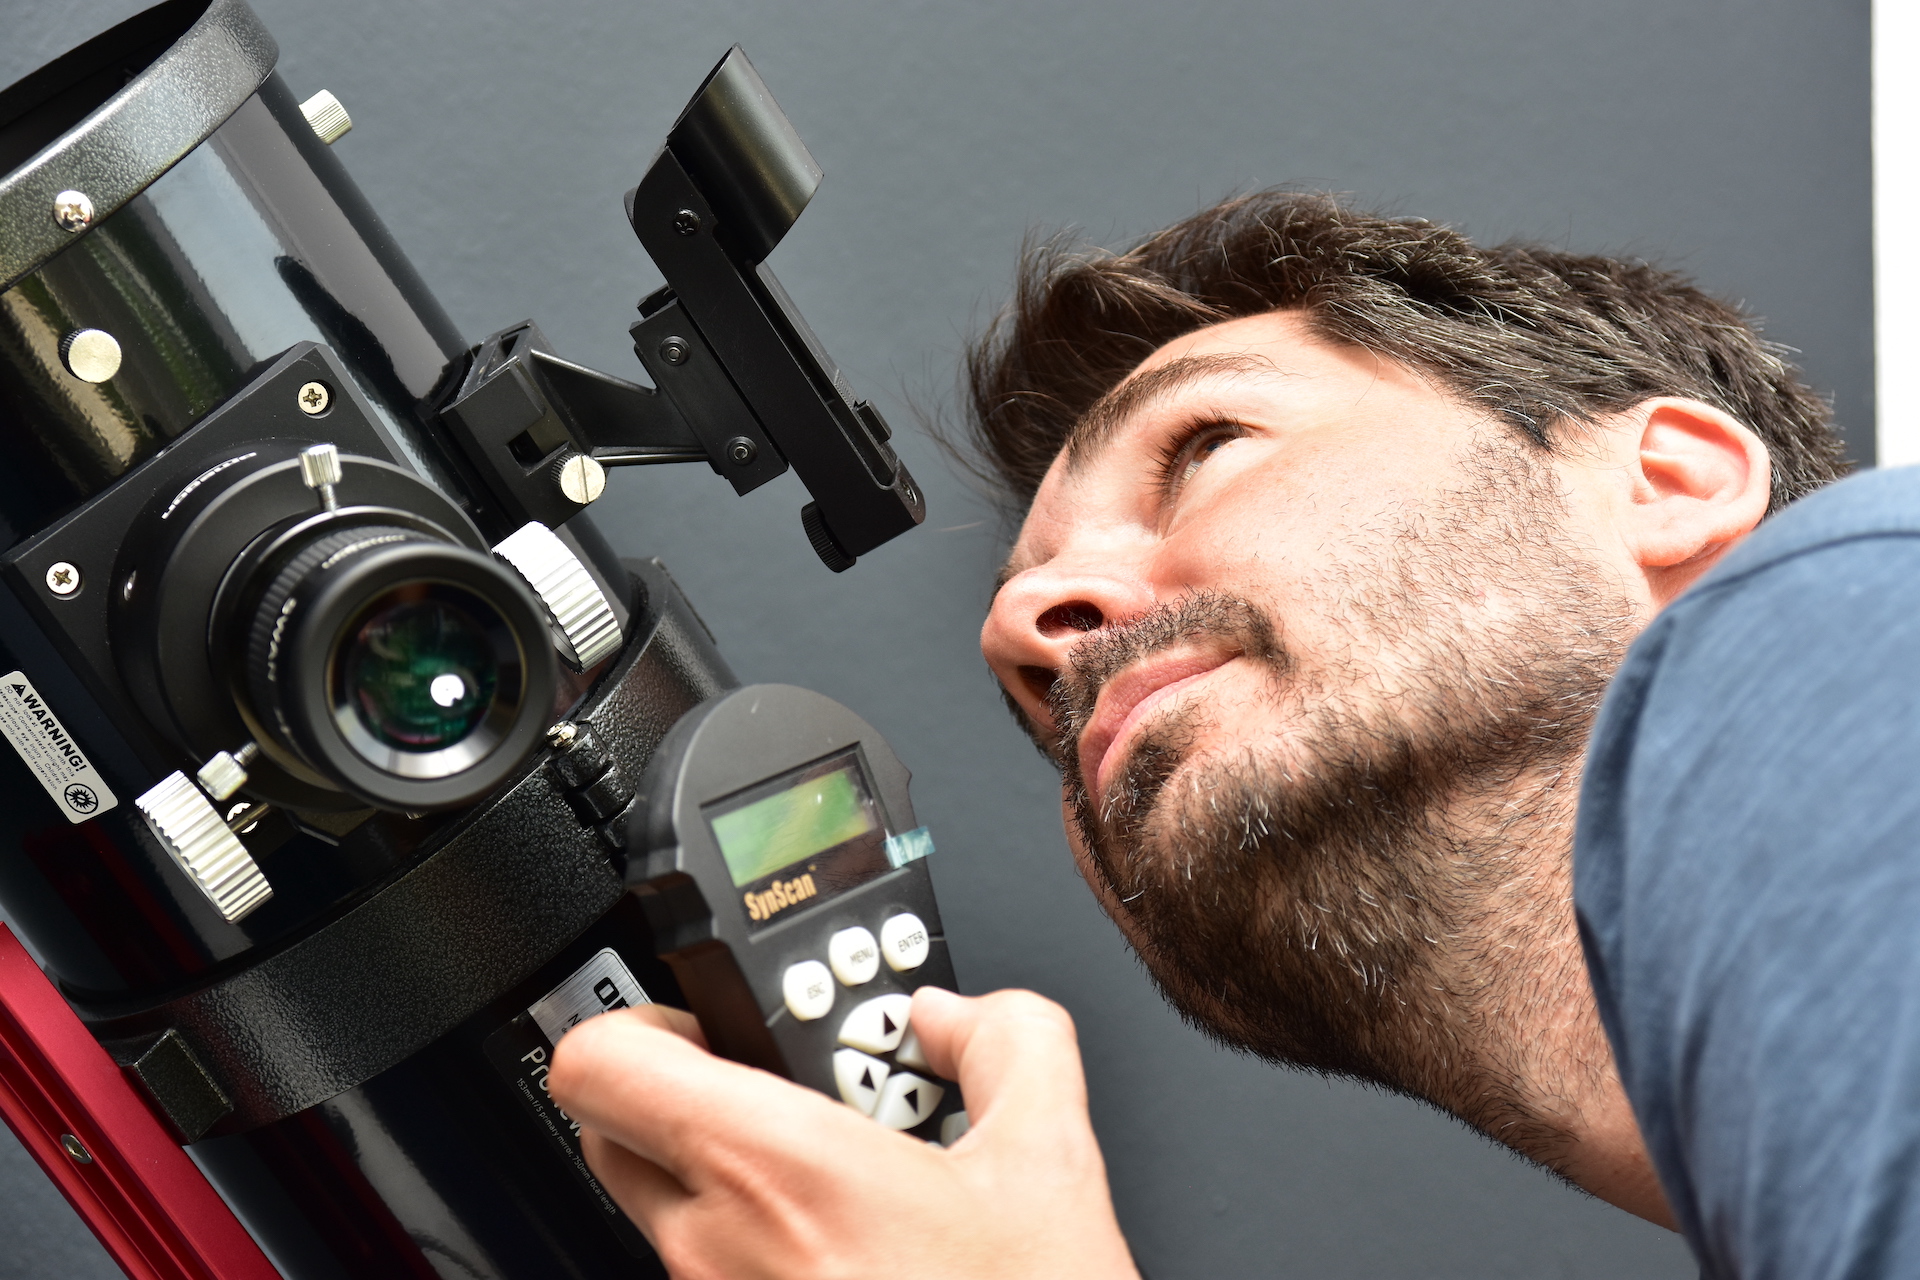
... and centre it in the eyepiece.
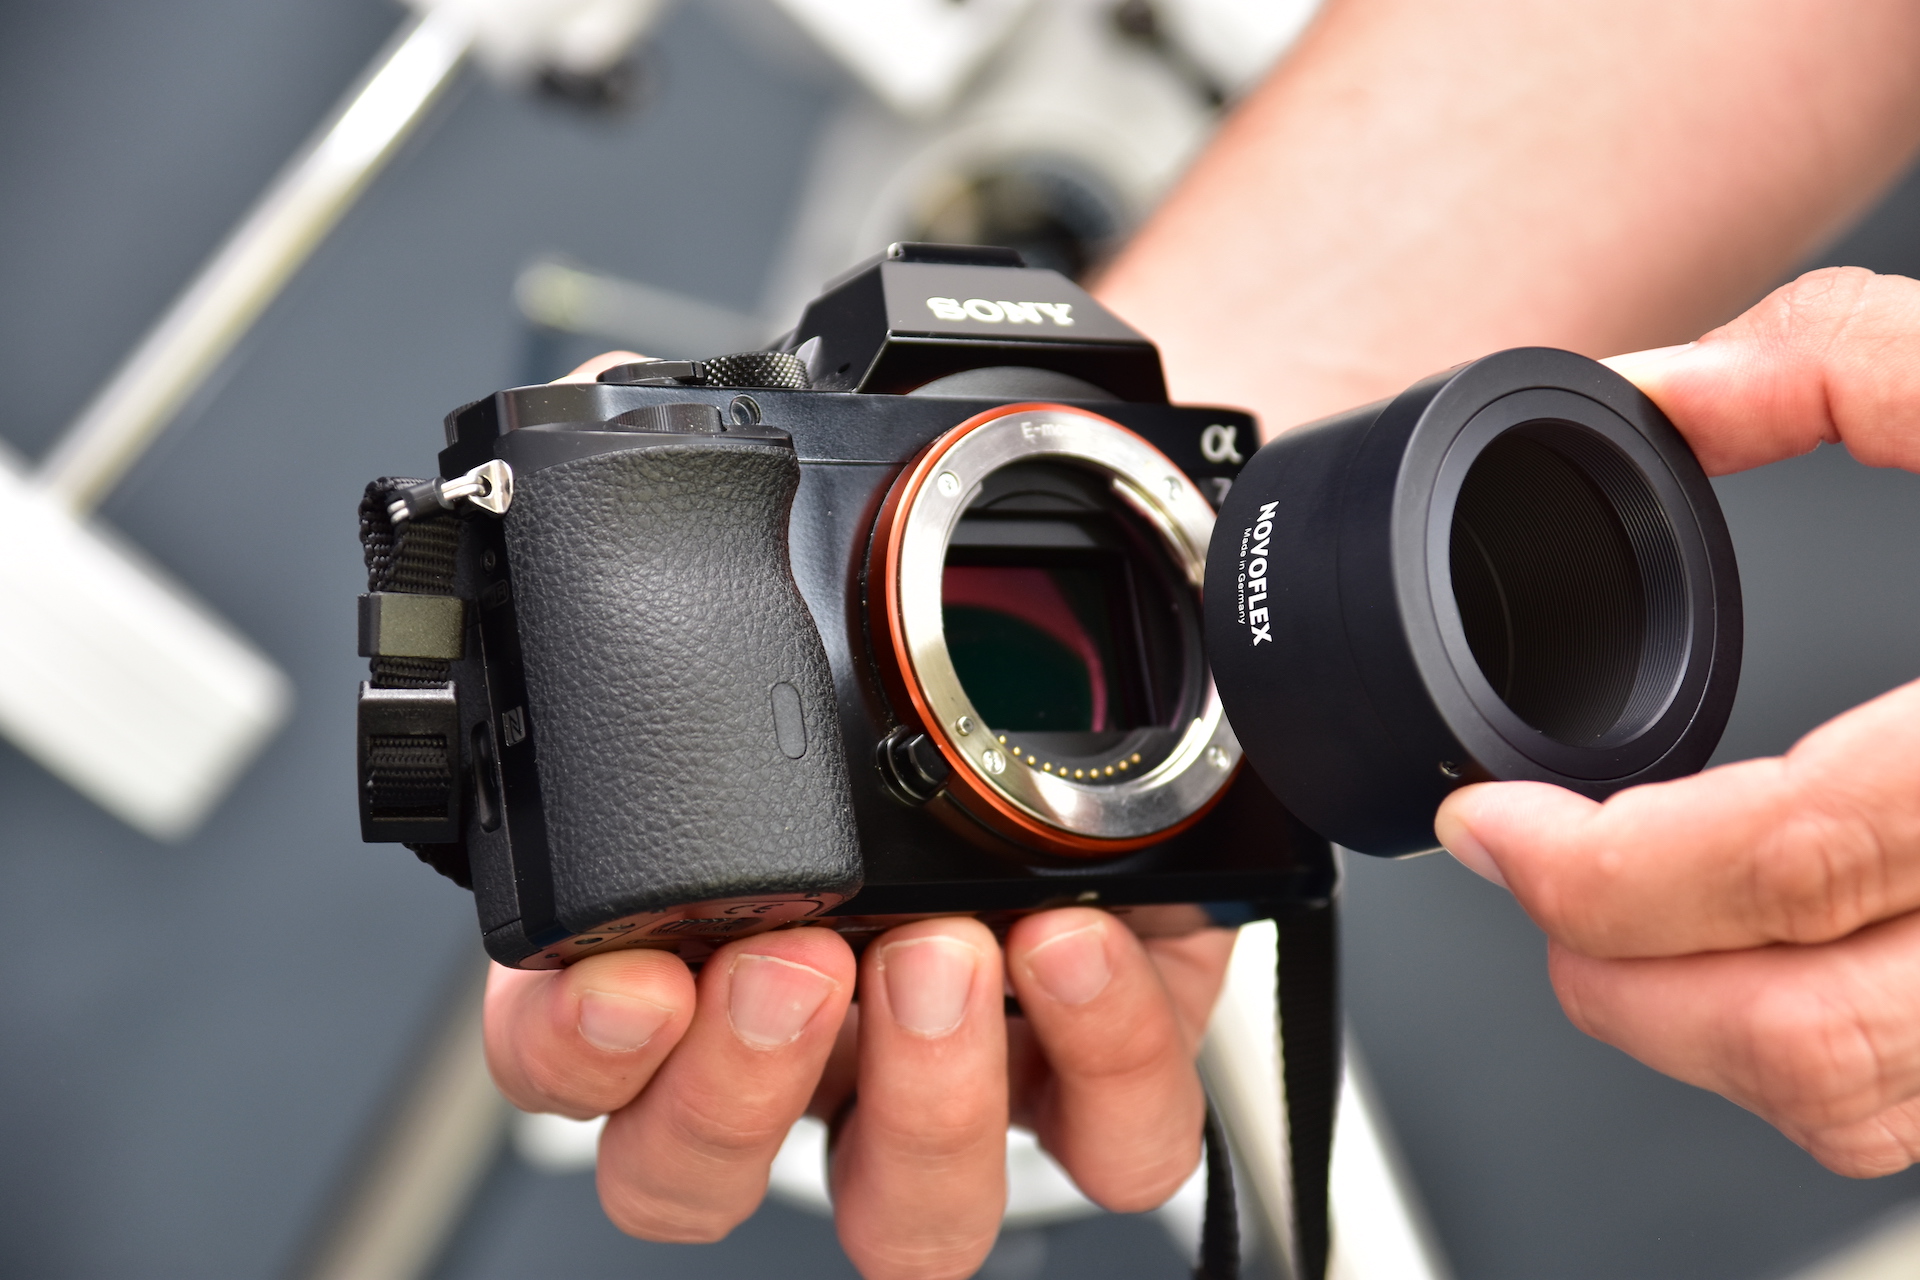
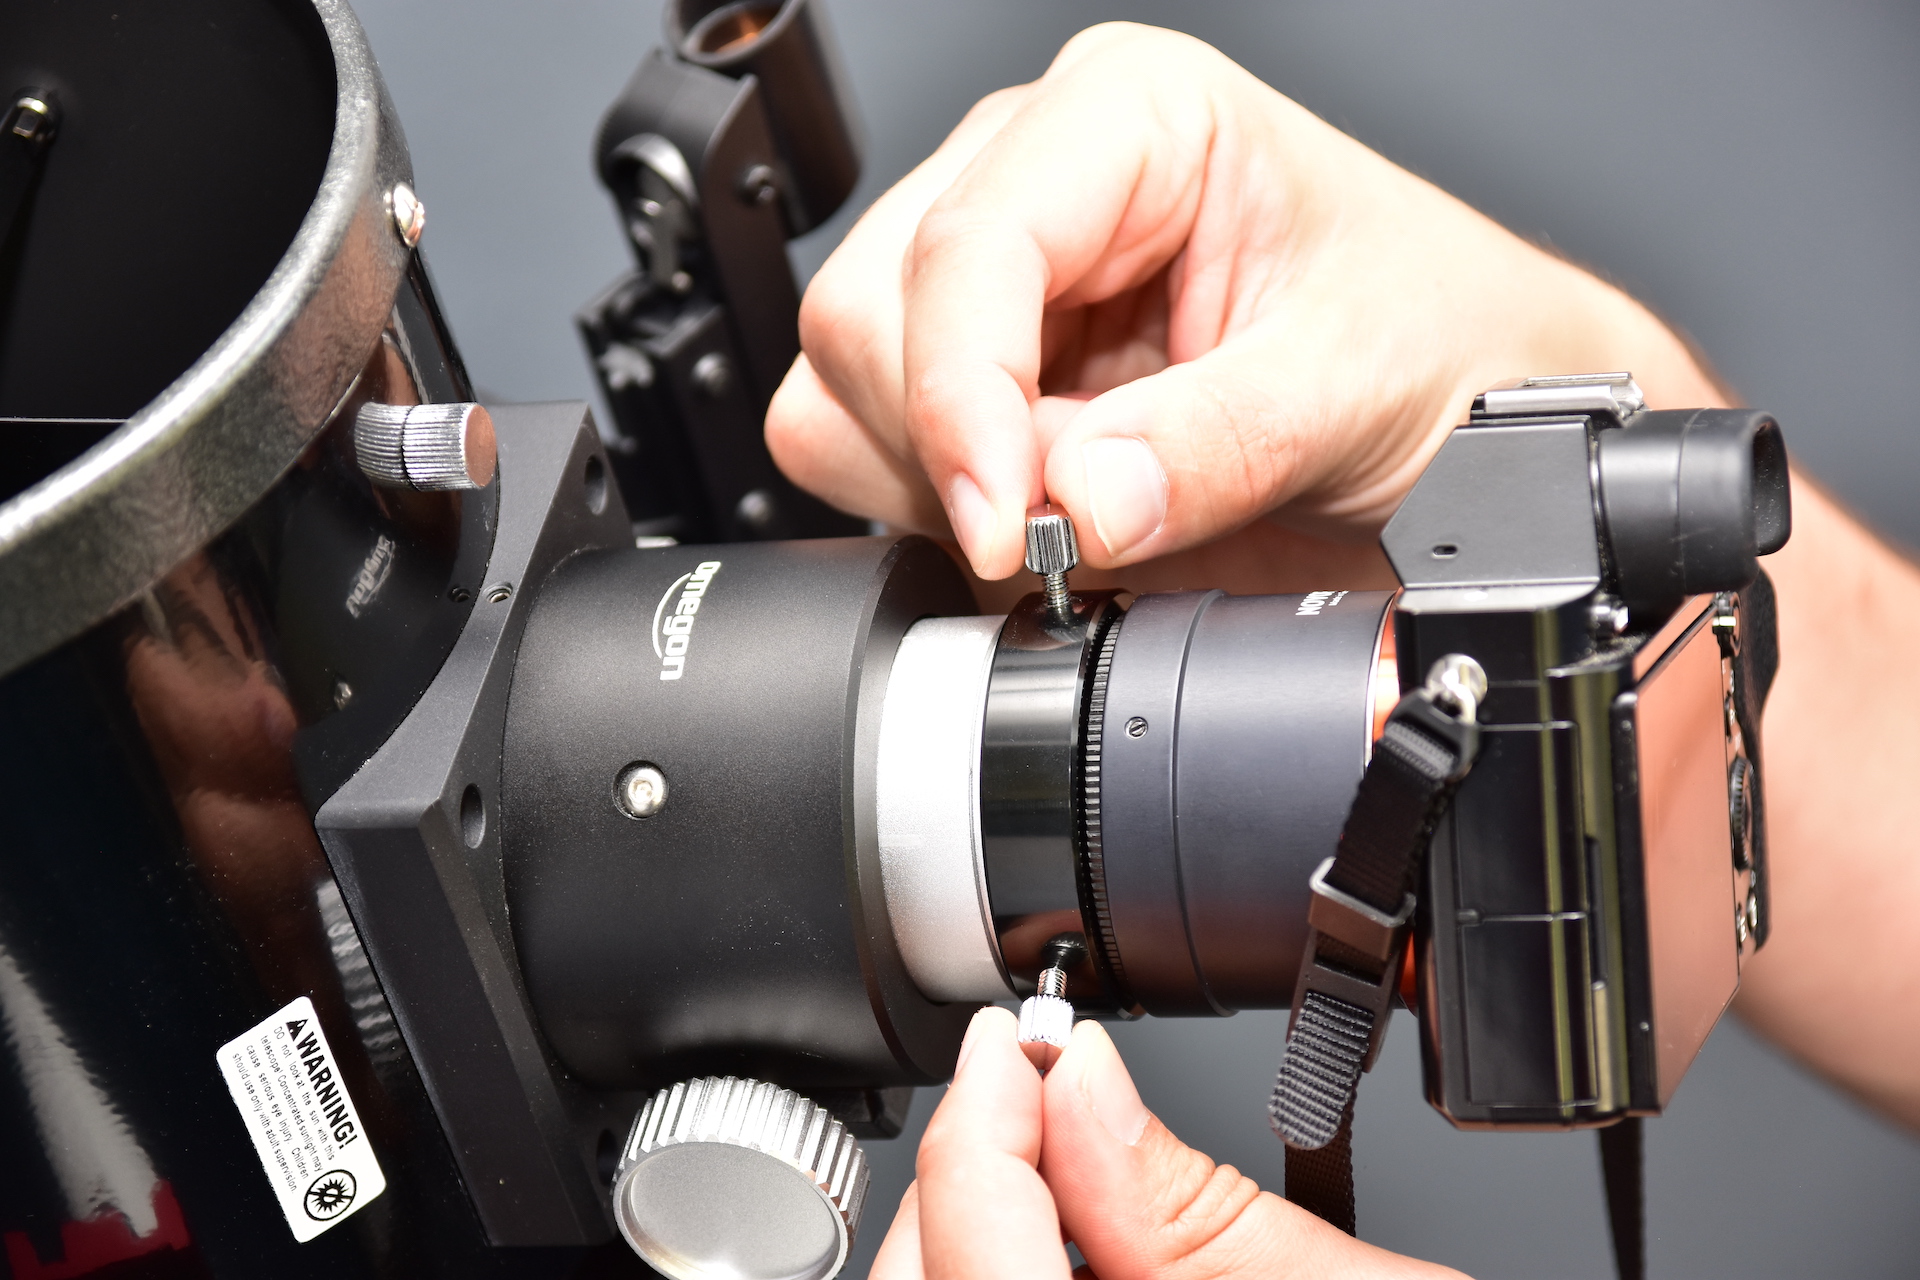
Attach the camera to the focuser ...
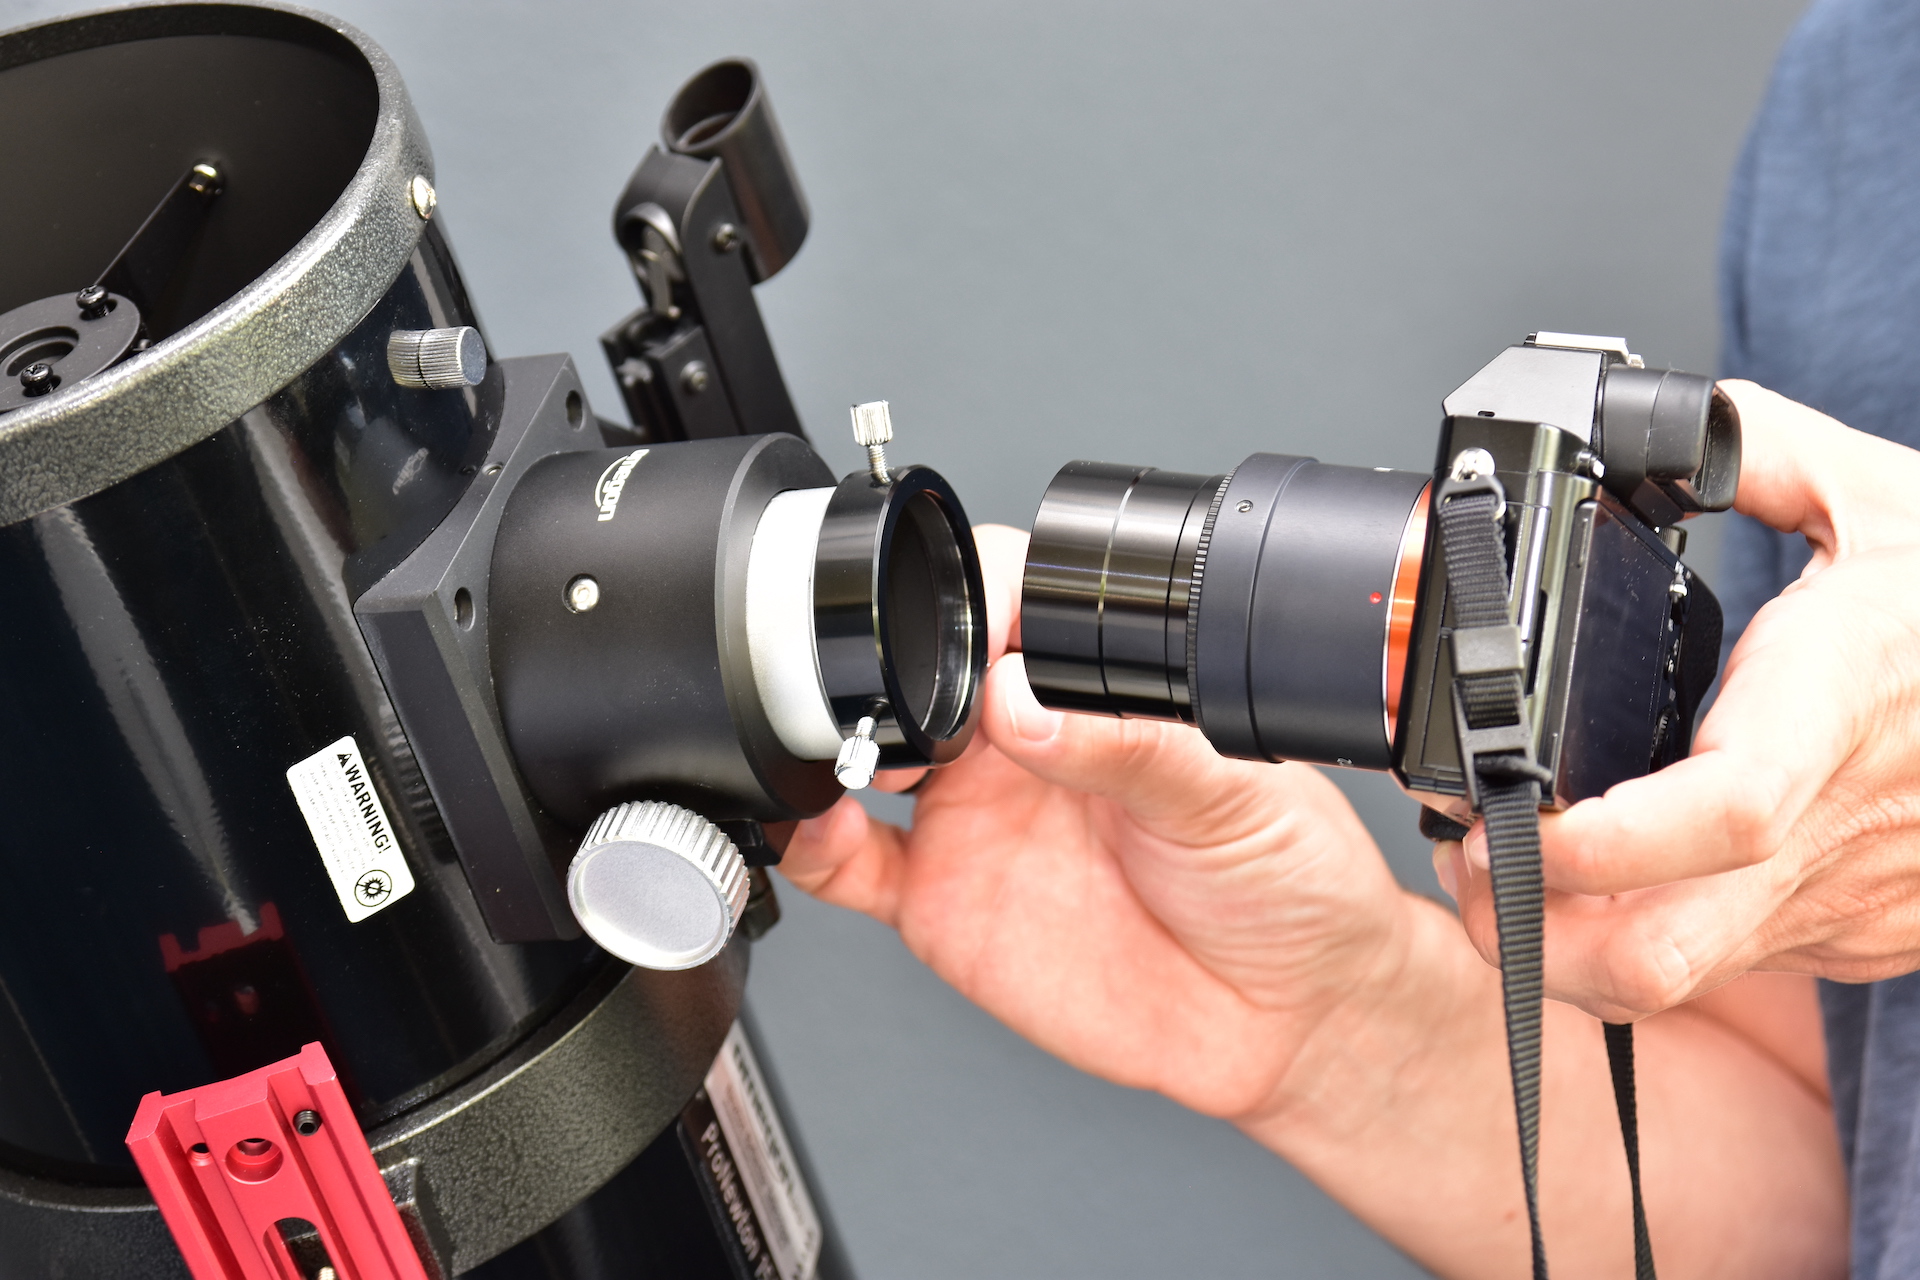
and tighten the clamping screws.
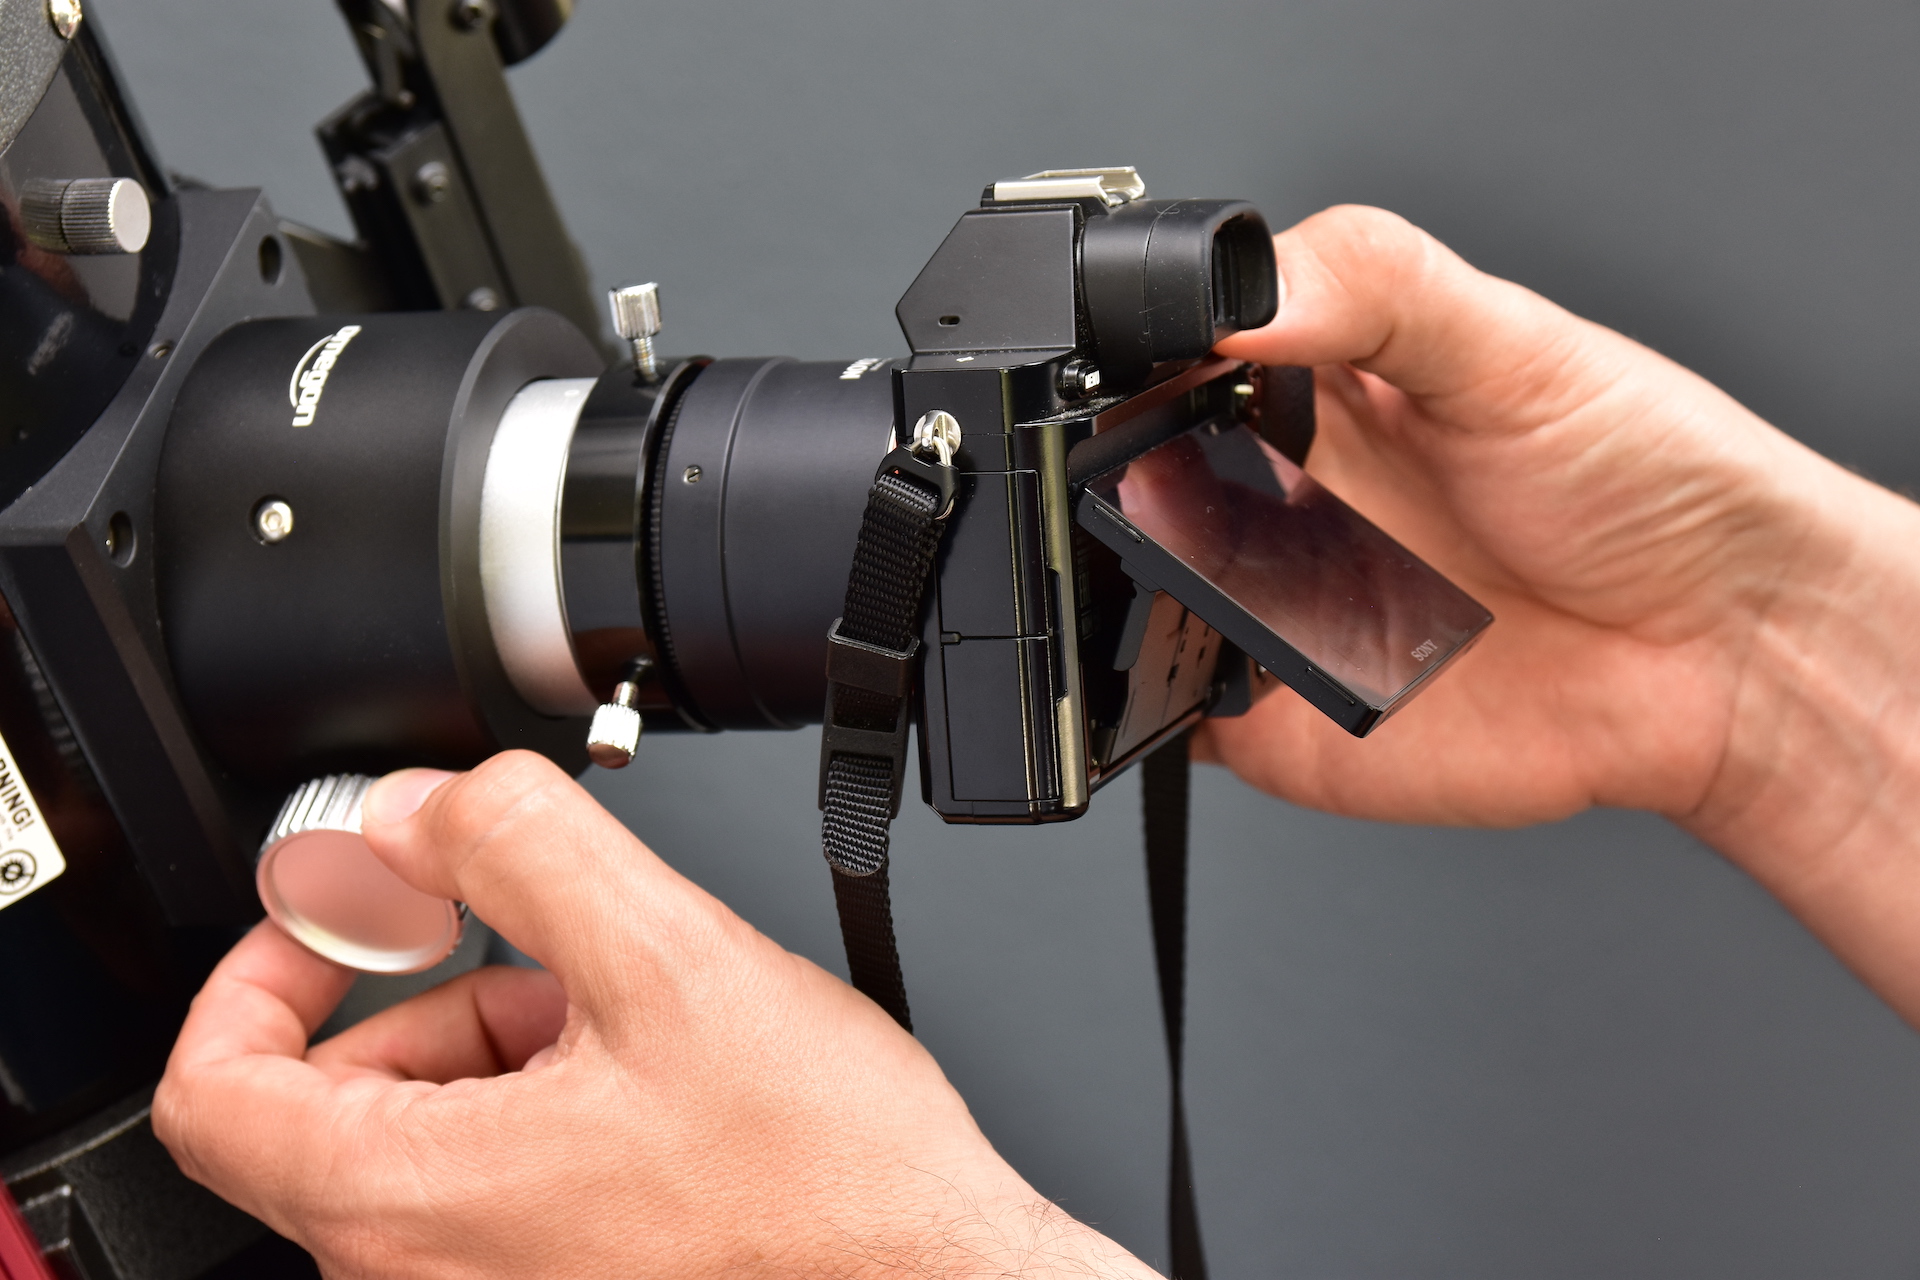
Switch on your camera’s live preview and turn the focuser until the star appears needle-sharp. Then take a test shot with a short exposure time. It is best to use a cable shutter release or timer to prevent camera shake.
Take a look at the image at high magnification. Is the star sharp? If not, repeat the test shot until the star appears sharp.
Now point at your subject and take a test shot. Does the composition and alignment look right?
Take pictures of your subject, trying out different exposure times.
The 4 cornerstones for your telescope
There's a couple of things to say first:
- A: not every telescope is suitable for astrophotography
- B: not every telescope that looks like it might be good for astrophotography is actually suitable
Your telescope needs 4 features, or let's call them cornerstones, because they are really important.
1. The focuser:
This must be stable and not wobble. It is used to precisely adjust the sharpness of the image.
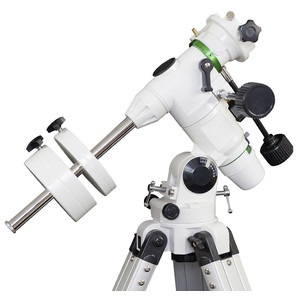
2. An equatorial mount:
If you want to photograph more than the Moon, your telescope needs an equatorial mount. This should also be stable. Inexpensive and lightweight entry-level telescopes often come with a mount, but their stability is usually only sufficient for visual observation. The rule of thumb is that, in order to be suitable for astrophotography, the mount should cost around 50-60% of the total cost of the telescope. If you are unsure, please contact our consultants.
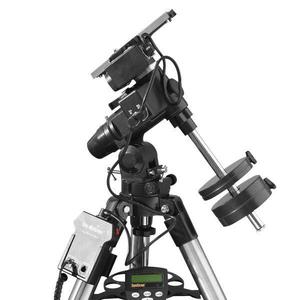
3. Ability to be polar-aligned:
You should be able to align your telescope with the north celestial pole. Make sure that a polar finder scope is included or can be fitted retrospectively.
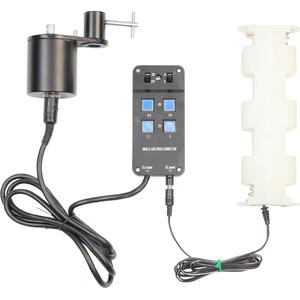
4. Tracking:
The telescope must have a motorised tracking system or a GoTo system, because your object must remain centred even during longer exposure times.
What object should you choose for your first pictures?
For your first shot, it's best to select the Moon. It is bright and with a short exposure time you get wonderful results that you can proudly share.
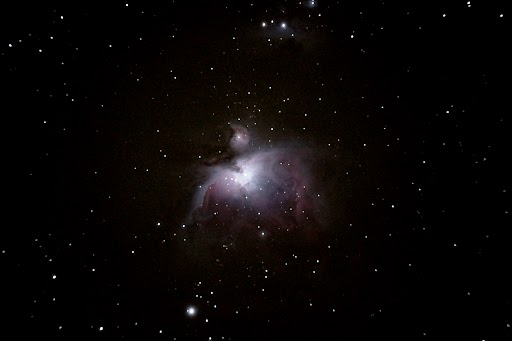 Orion Nebula M 42 captured with a 85mm f/6.6 Omegon APO and Sony Alpha. Photo: Marcus Schenk
If you want to photograph a cluster or a nebula, the exposure time must be longer. If you have aligned your mount exactly and are using motorised tracking, you can use exposure times of between 30 and 45 seconds.
Subject ideas for your first pictures:
- Waxing Moon
- Total lunar eclipse
- Sun with sunspots (warning: always use a solar filter)
- Partial eclipse of the Sun (warning: always use a solar filter)
- The Pleiades cluster with 30 seconds exposure time
- Cluster h & chi with 30 seconds exposure time
- Beta Lyrae binary star with a few seconds exposure time
- Orion Nebula with around 30 seconds exposure time
Have we caught your interest? In the universe of astrophotography, there is still plenty to try out and learn. We wish you lots of observing fun!
You may also find these articles interesting:
Recommended astrophotography products