The Telrad trick: aligning your mount with the projection finder
An equatorial mount is only ever as good as its alignment with the celestial pole. Such alignment is simple with this little-known method.
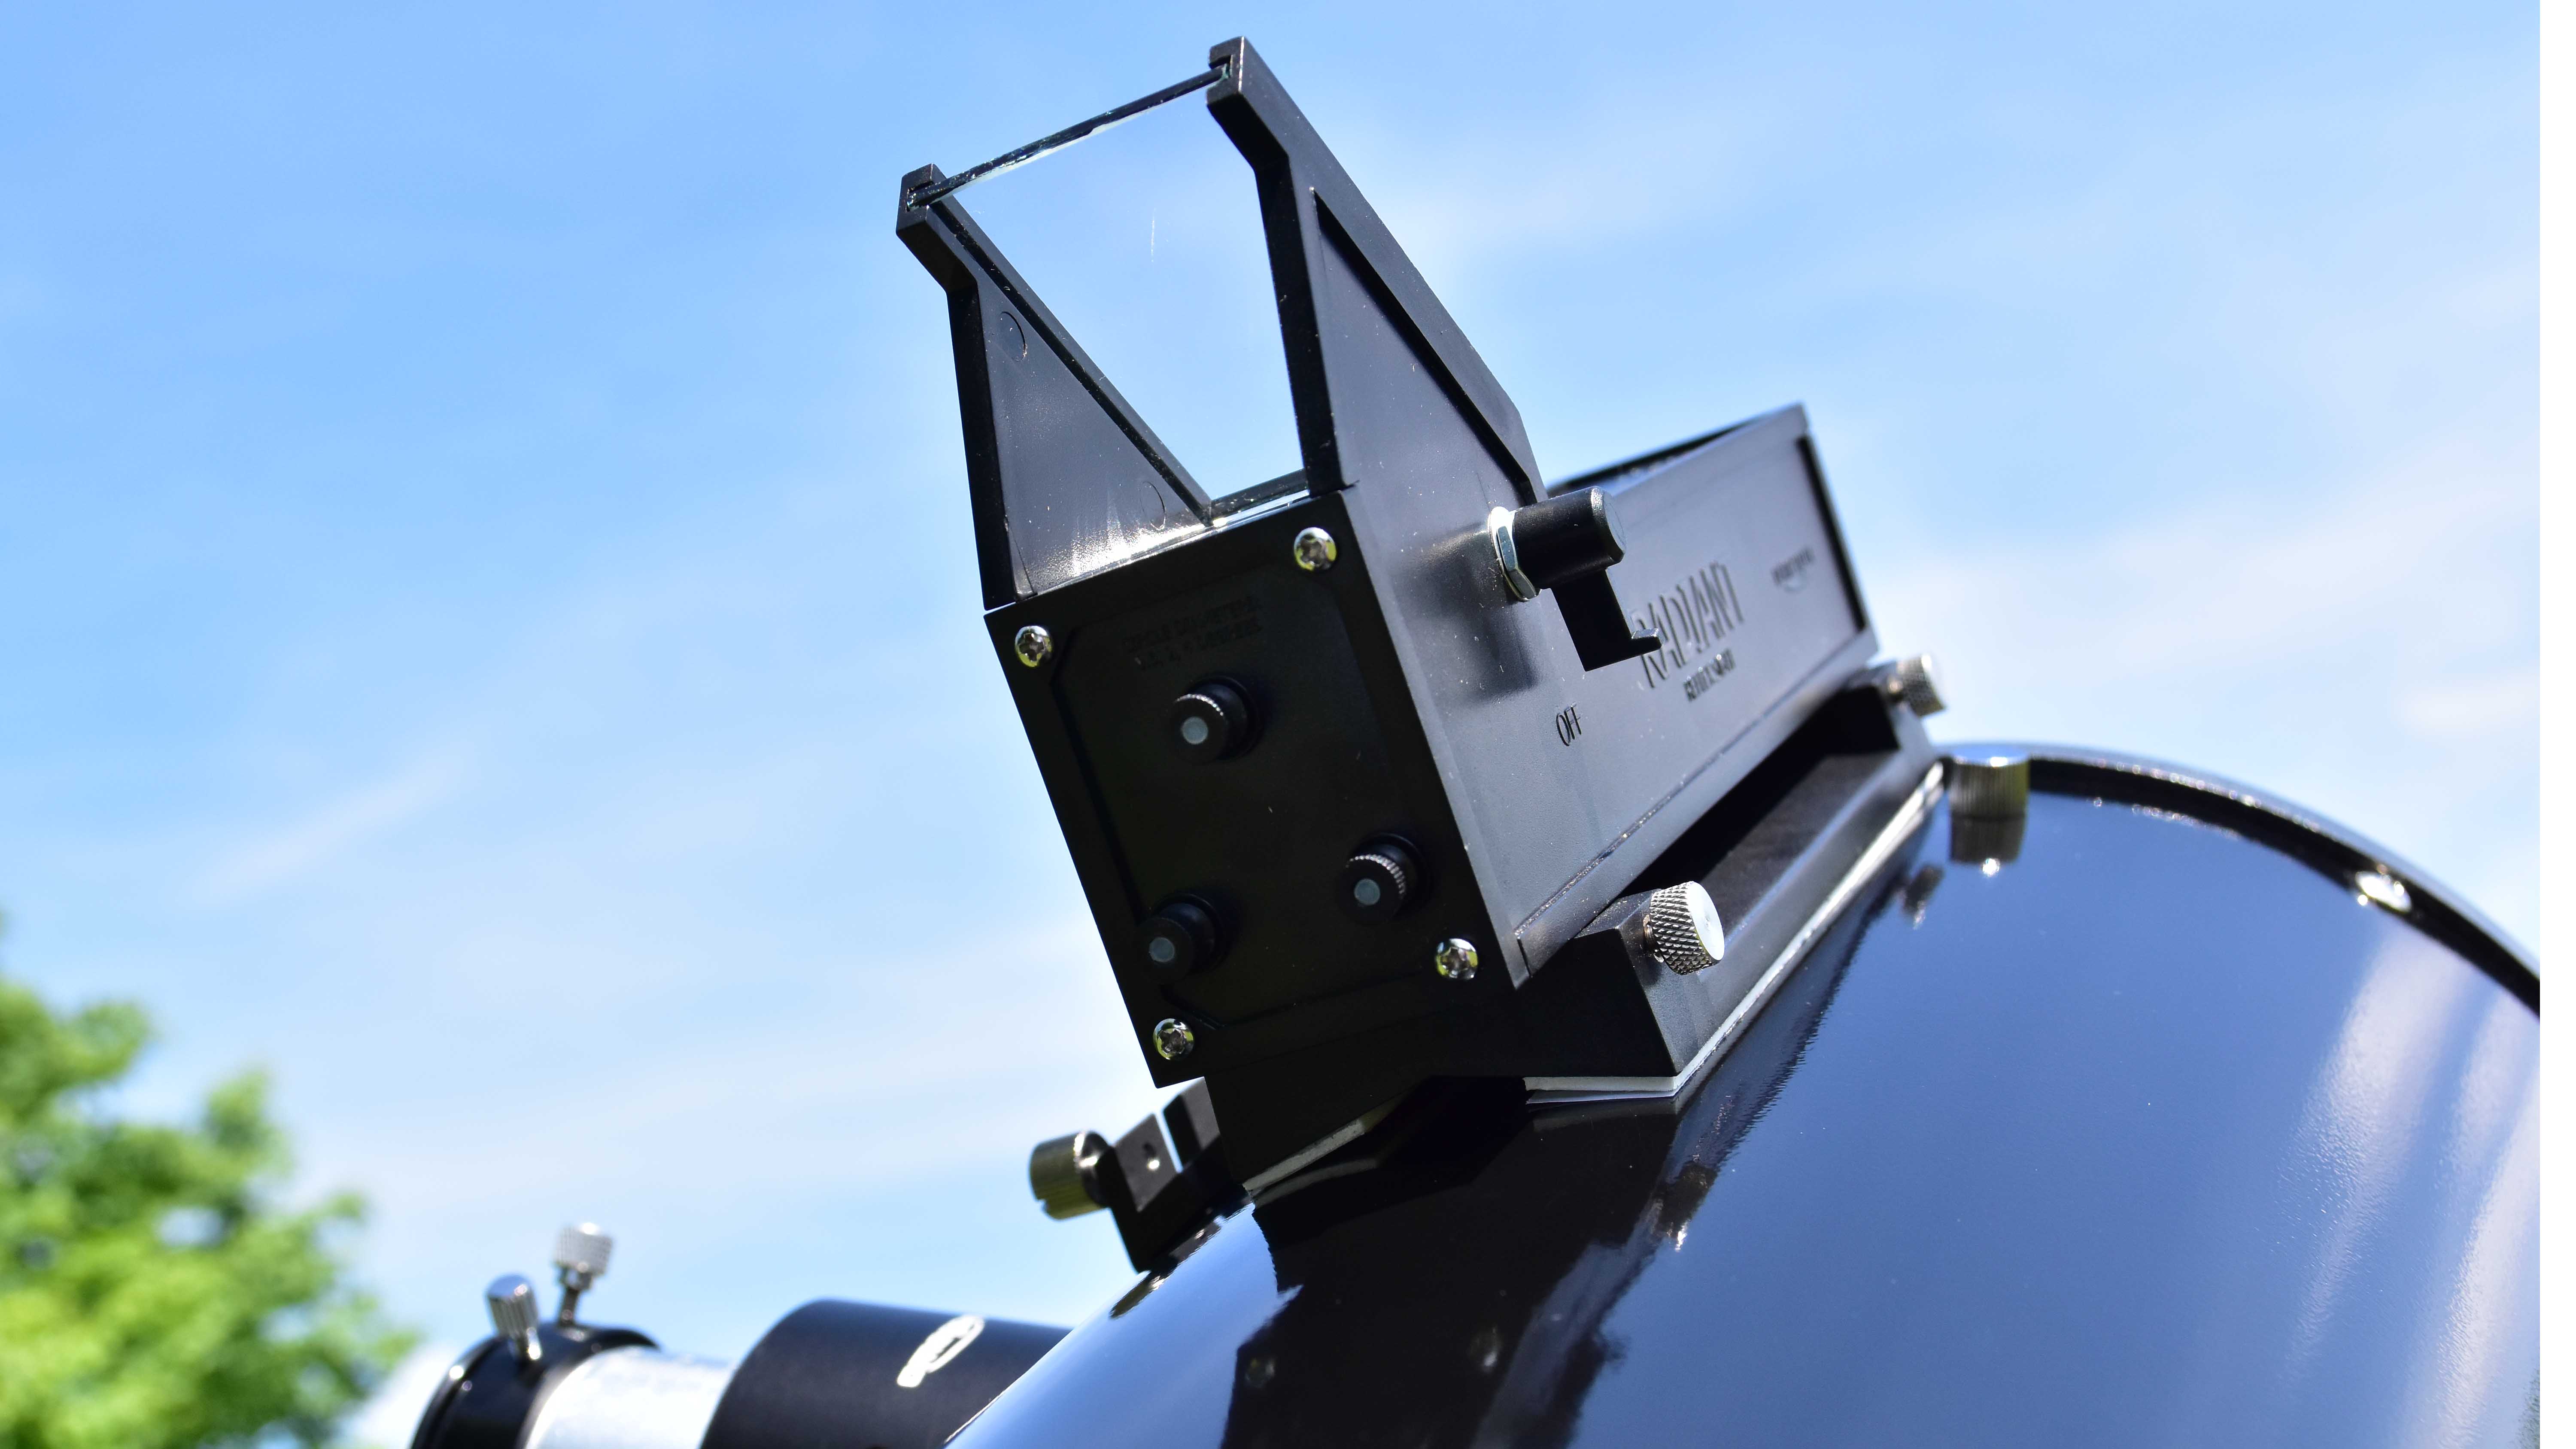
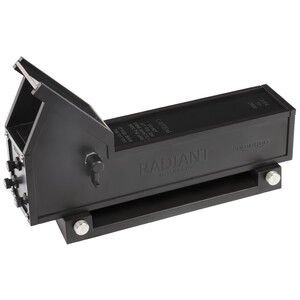
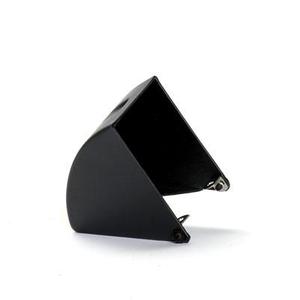
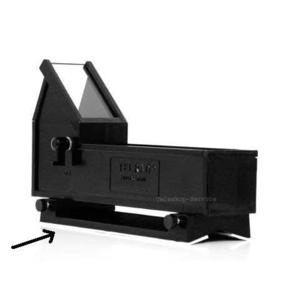
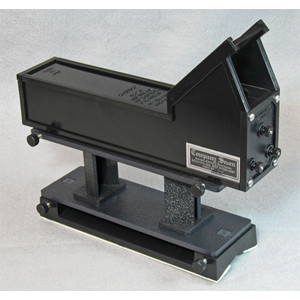
In this article, we’ll share a little secret with you. Because many people have a Telrad or Radiant finder, but they don't know that it can be used to polar-align their equatorial mount - without the need for a polar finder.
But why do we have to do this anyway?
Equatorial mounts make tracking objects in the night sky – by hand or with a motor - particularly easy. But for this to work successfully, the mount must first be aligned as accurately as possible with the celestial pole. This is not so critical for visual observation because, if necessary, you can manually correct the mount after a few minutes, before the object moves too far from the centre of your field of view.
But for astrophotography, it’s completely different. Small deviations will be noticed quickly, and even when imaging with an autoguider, precise alignment is the best guarantee for a perfect picture.
Unfortunately, aligning the mount to the celestial pole is a time-consuming task, and some telescopes do not even have a polar finder. The good news: with a Telrad or Radiant projection finder, the procedure can be greatly simplified.
Step by step: how to align your mount
The finder displays three rings with diameters of 0.5°, 2° and 4°. Polaris is about three-quarters of a degree from the true celestial pole.
1. First, we align the finder with the telescope. Then we put the mount into its neutral position so that the main telescope is directly above the right ascension housing. On a German mount, the counterweight bar will be pointing directly downwards.
2. Set the declination axis to 90° – the tube is now pointing in the same direction as the right ascension axis. The declination and right ascension axes must not be adjusted again until the mount is aligned.
3. Now we use the azimuth and altitude adjustment screws to get Polaris into the centre of the finder ring; we have just polar-aligned the mount with an accuracy of less than one degree.
But we can be even more precise. To do this, we must first ascertain where Polaris is currently located in its orbit. This is very simple – let's just assume that when we look north, we see the following section of the sky:
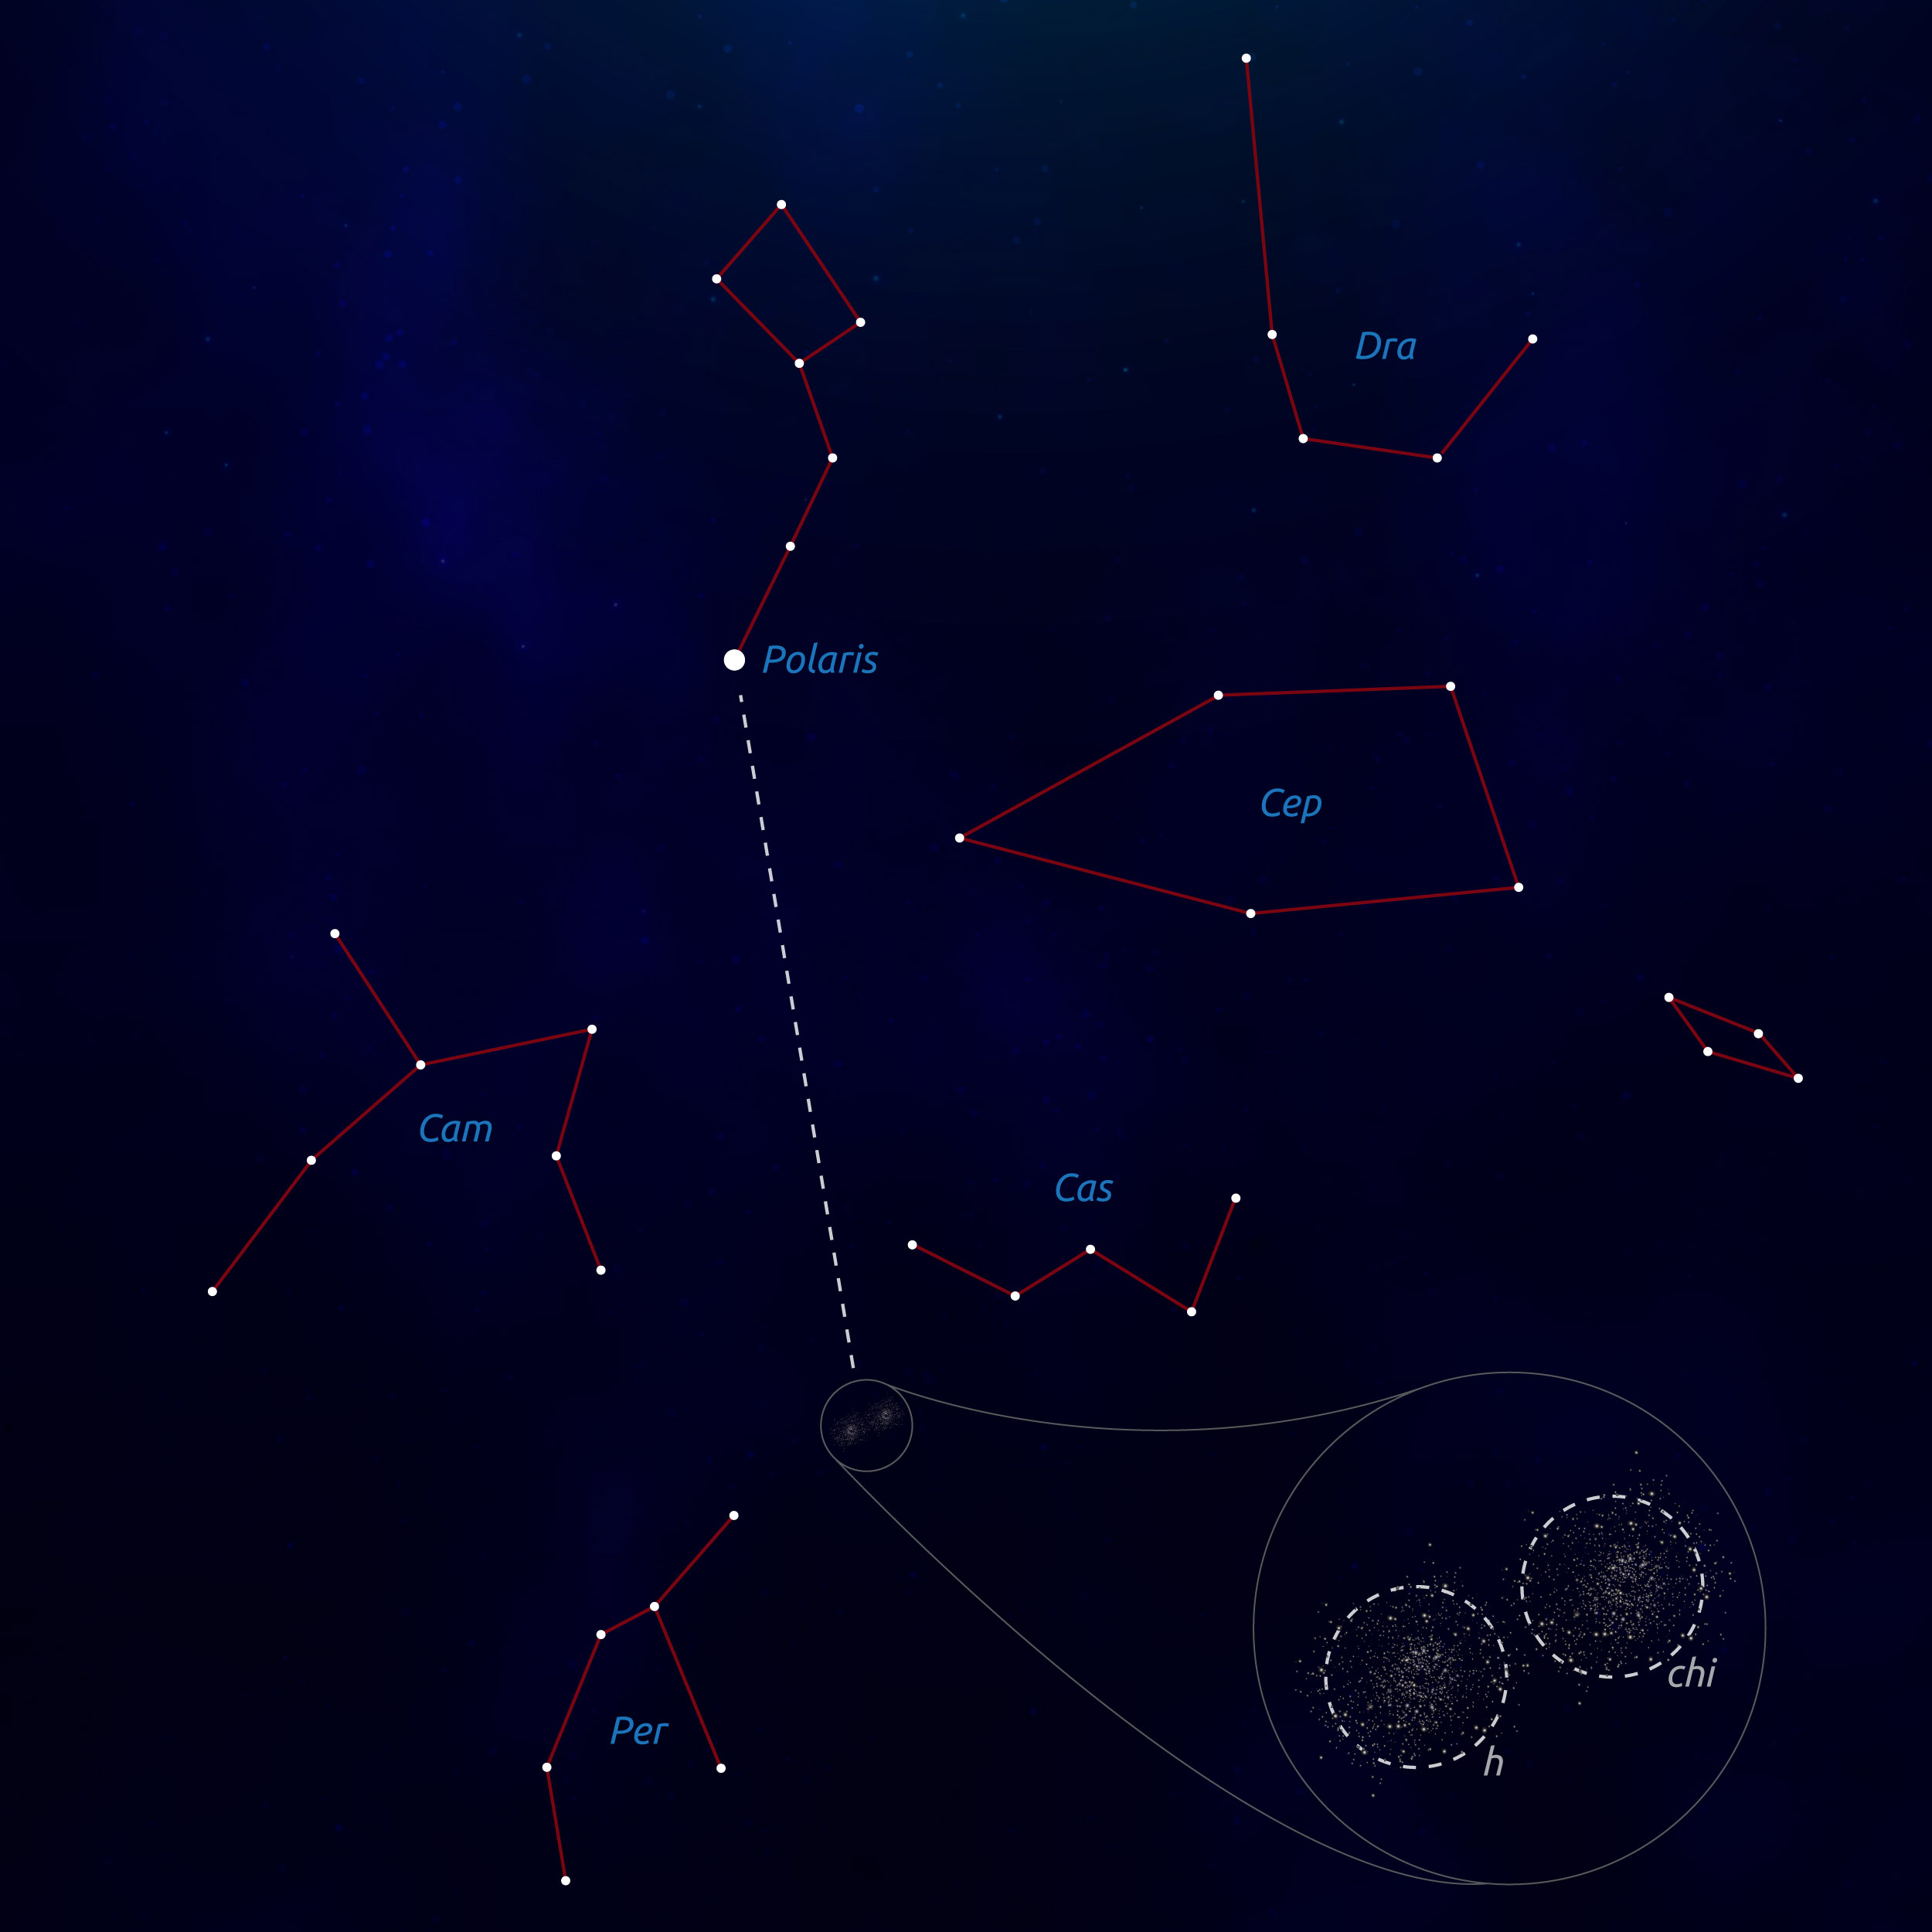
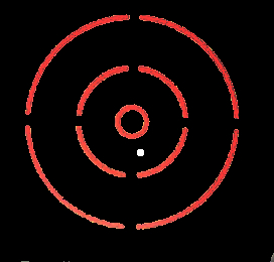
The bright star at the top edge of the picture is Polaris. We see the constellation Cassiopeia and parts of other constellations. Between Cassiopeia and Perseus is the well-known double cluster h & Chi Persei. This cluster has the same right ascension coordinate as Polaris. In this case, we use the azimuth and altitude adjustment to place Polaris in the following position in the finder:
Done – we have accurately aligned the mount to within a few arc minutes.
We can also check the result: if we swing the telescope in the RA axis, Polaris moves around the finder’s innermost ring in a concentric circle.
Author: Tassilo Bohm

Tassilo develops products for the Omegon brand.
Tassilo Bohm has been engaged in amateur astronomy since comet Halley in 1986. He is a founding member of the Laufen astronomical working group, and has been active at the Bavarian public observatory in Munich for many years, with a focus on the self-build of telescopes. In 1996, he took the opportunity to turn his hobby into his profession, first in sales and later in the development of telescopes.
Languages: German, English