Astrophotography with a stand-alone camera
How do you get started with astrophotography? Getting going is easy, and you really don't need much equipment to take your first steps.
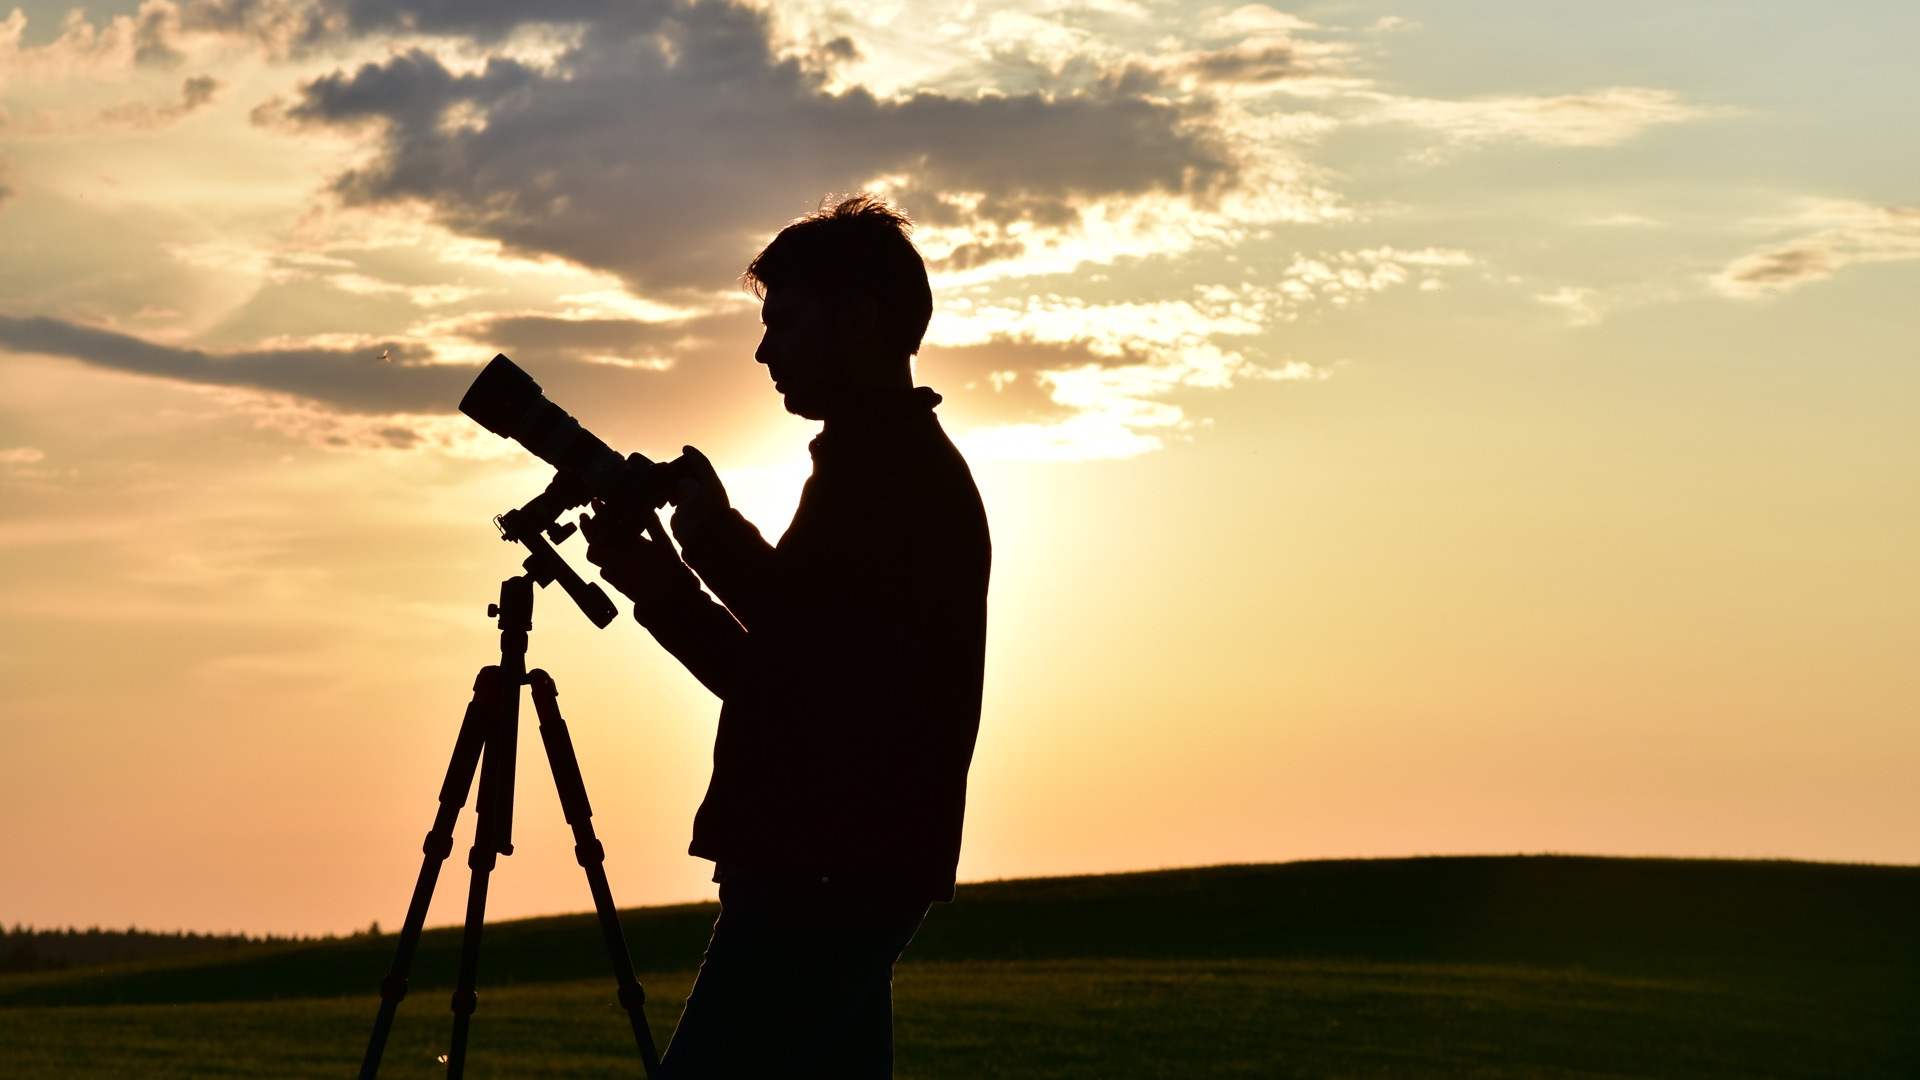
The easiest way to try astrophotography is to simply point a camera, without a telescope, directly at the sky. Just leave the lens on the camera body and screw the entire camera onto a photographic tripod. The camera should be of a type that allows you to set any length of exposure time.
The easiest way to take photographs of the night sky
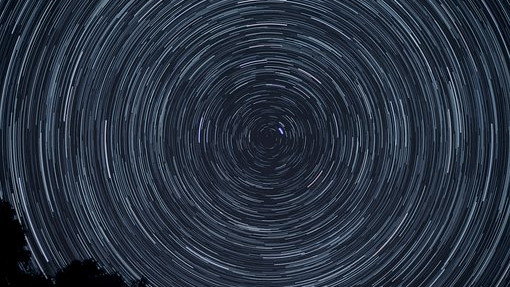
If you have an older conventional camera, you can easily take star trail shots of the stars. It's best to work with a lens with a focal length of between 35 and 50mm. If you have an autofocus camera, you should turn off the autofocus and set the focus to infinity. One of the most beautiful regions to photograph is the area around the pole. So, if you point your camera at the Pole Star and take long-exposure pictures, it usually results in very aesthetic images. These star trail shots are created by the rotation of the Earth. The stars seem to be moving in a circular path around the Pole Star, as it is almost exactly the extension of the Earth's axis to the north. The longer the exposure time, the longer the circles around the Pole Star become. If your exposure time is long enough, you will even notice how the Pole Star itself has moved a little.
A very dark sky, preferably with no clouds and with little atmospheric humidity, is important for a star trail image. An essential tool for conventional star trail photography is a shutter release cable attached to the camera.
Star trail images:
- Conventional SLR camera
- Lens focal lengths between 35-50mm, maybe even 80mm
- Shutter release cable
- Tripod with tilt head
In addition to photography using the older conventional cameras, it is naturally also possible to take such pictures with the new digital cameras.
However, these cameras have a critical disadvantage compared to analogue film cameras, in that they only allow relatively short exposure times. Here, exposure times should not normally exceed 5 minutes, otherwise the thermal noise from the CCD chip becomes too great, and you see dots on the image that actually don’t belong there. Many digital cameras allow only much shorter exposure time, so five minutes would anyway not be possible.
You are therefore forced to take a number of short-exposure shots over a long period of time and later stack them on your computer. This is much more time-consuming than conventional photography. Therefore, the older cameras have a clear advantage here.
In addition to that mentioned above, you will also need a wide-angle lens for wide-field photography. However, the focal length of the lens does not show the same area as with an analogue camera lens. In most cases, the focal length must be multiplied by a factor of 1.5.
Digital cameras require different settings for night sky photography than for daytime photography. The white balance should be set to daylight, and you should use as little image compression as possible. This will increase your ability to process the image later, if required.
For noise reduction, we recommend that you use the built-in noise reduction function if your camera has this feature. With it, the camera will produce a dark frame with the same exposure time as the previous one. Noise and possible hot pixels are reduced. If the camera does not have noise reduction, you have to create the dark frame yourself and then subtract it from the image of the object on your computer.
There are also some good freeware programs for this on the Internet. Please refer to our literature and software tips.
Star trail photography with digital cameras
- Wide-angle lens
- Wireless or electronic shutter release
- Tripod with tilt head
- Lots of short-exposure images
- Stack later on your PC
- White balance set to daylight
- RAW format or lowest compression
- Subtract dark frame
There are, of course, other ways to photograph with a stand-alone camera. Very nice potential targets are conjunctions between celestial bodies, for example. When Venus and the crescent Moon can be seen together, this usually results in some very pretty images. It is particularly attractive if there is also a tree or some other terrestrial element in the picture. Aesthetic pictures after sunset are also very beautiful. Often you can see a sky that stretches from orange to light blue to almost black.
Another possibility is pictures of individual constellations. Short focal lengths are most suitable for this. You simply point the camera's lens at a constellation, such as the Big Dipper. Then you can open the shutter for several seconds. If you don’t want star trails in the picture, you need to limit the exposure time, depending on the altitude of the constellation. You’ll find this out best by trial and error.
Differences between mirror reflex and compact cameras
Both mirror reflex and compact cameras can be used for astrophotography. Compact cameras have advantages, especially in terms of their compact size and price. The cost of such a camera is often much lower than that of a mirror reflex camera. Nevertheless, you should consider whether you would be better saving for a mirror reflex camera, since they are much more versatile than compact cameras.
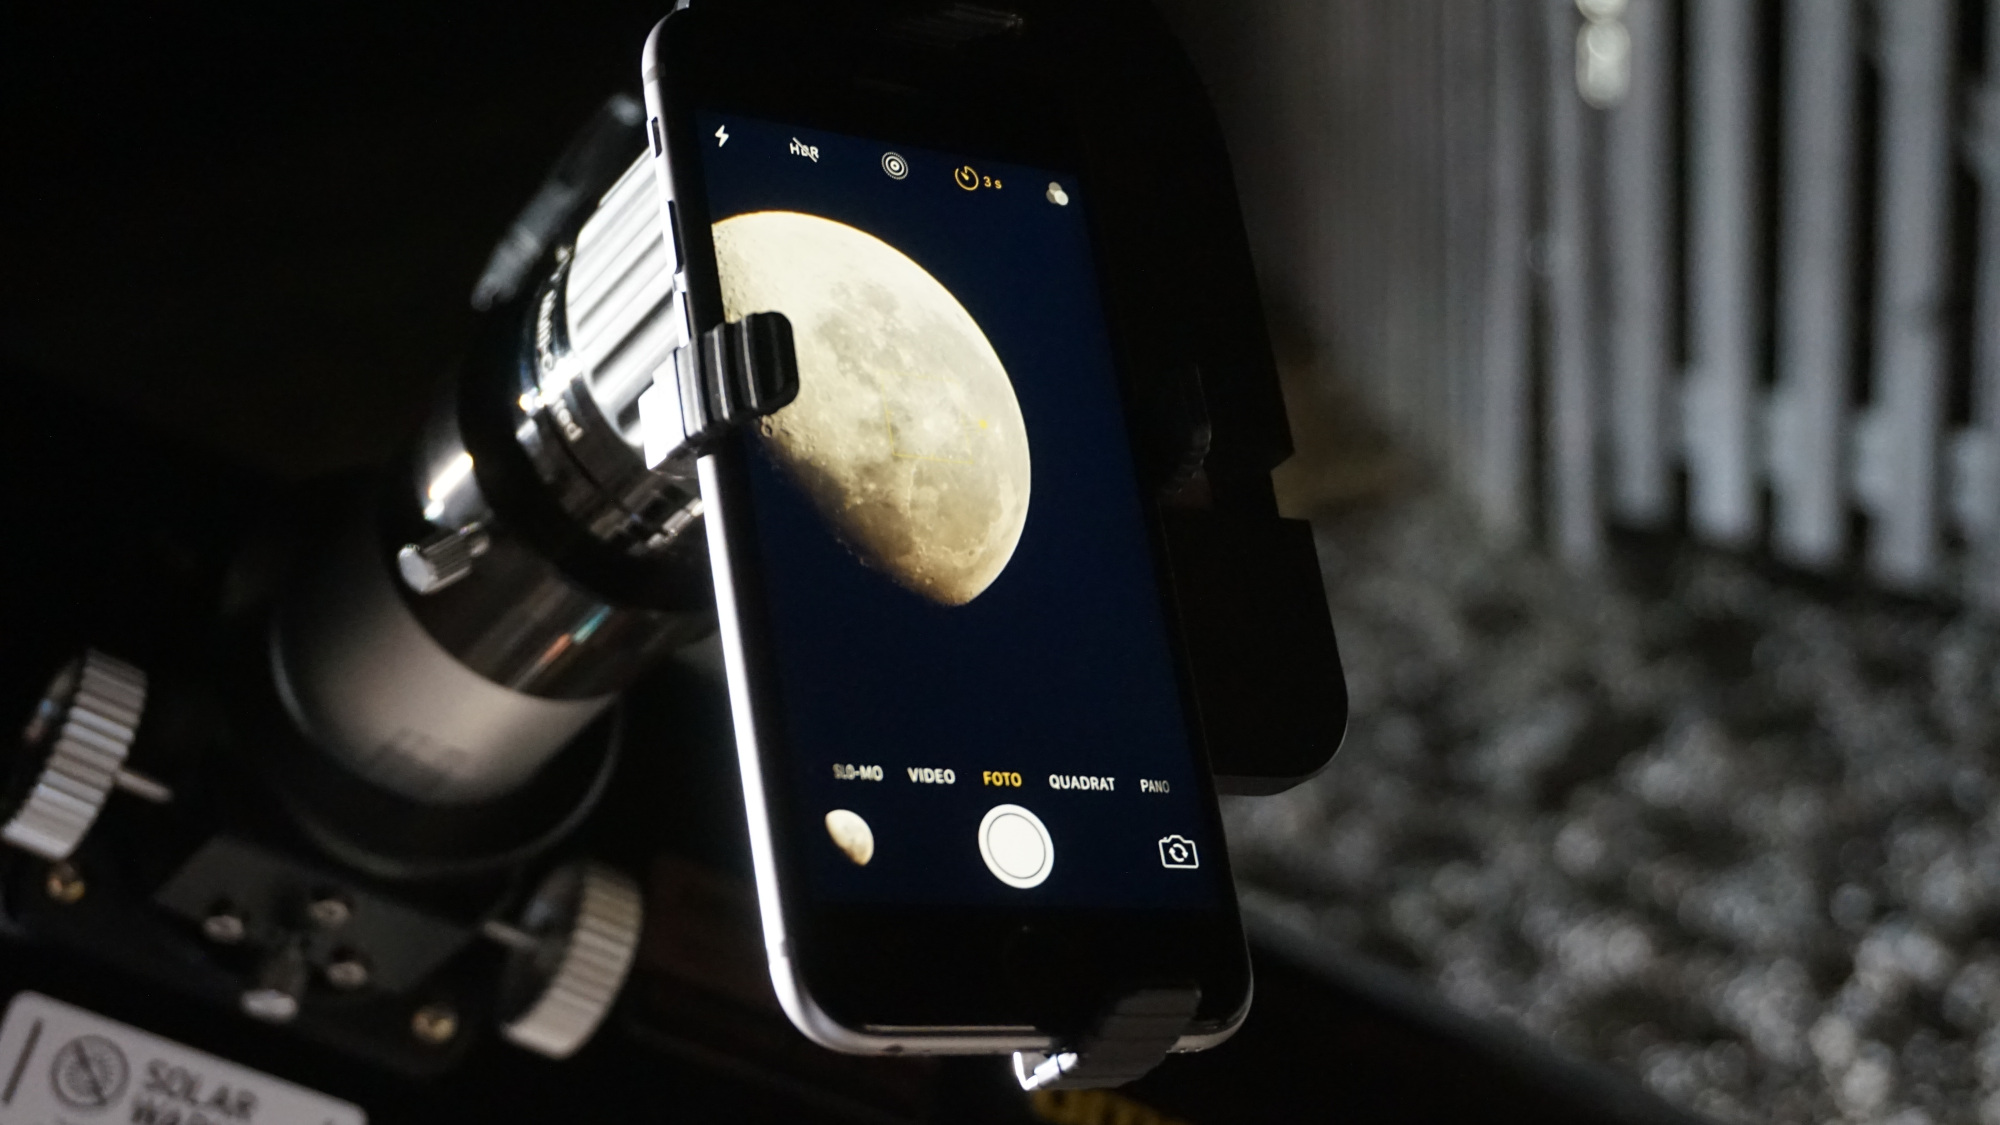
With a compact camera, you can only take pictures through the one lens, as it cannot be separated from the camera body. However, these cameras have a lens filter thread that allows the camera to be connected to a telescope. Some compact cameras have no filter thread but, here too, there are also ways to adapt them. Compact cameras are good for the above-mentioned aesthetic shots and for encounters between celestial bodies. Additionally, you can photograph the Moon and the Sun (and also, to a limited extent, planets) with it. When you attach the camera to a telescope, you can usually capture images of constellations for up to 30 seconds.
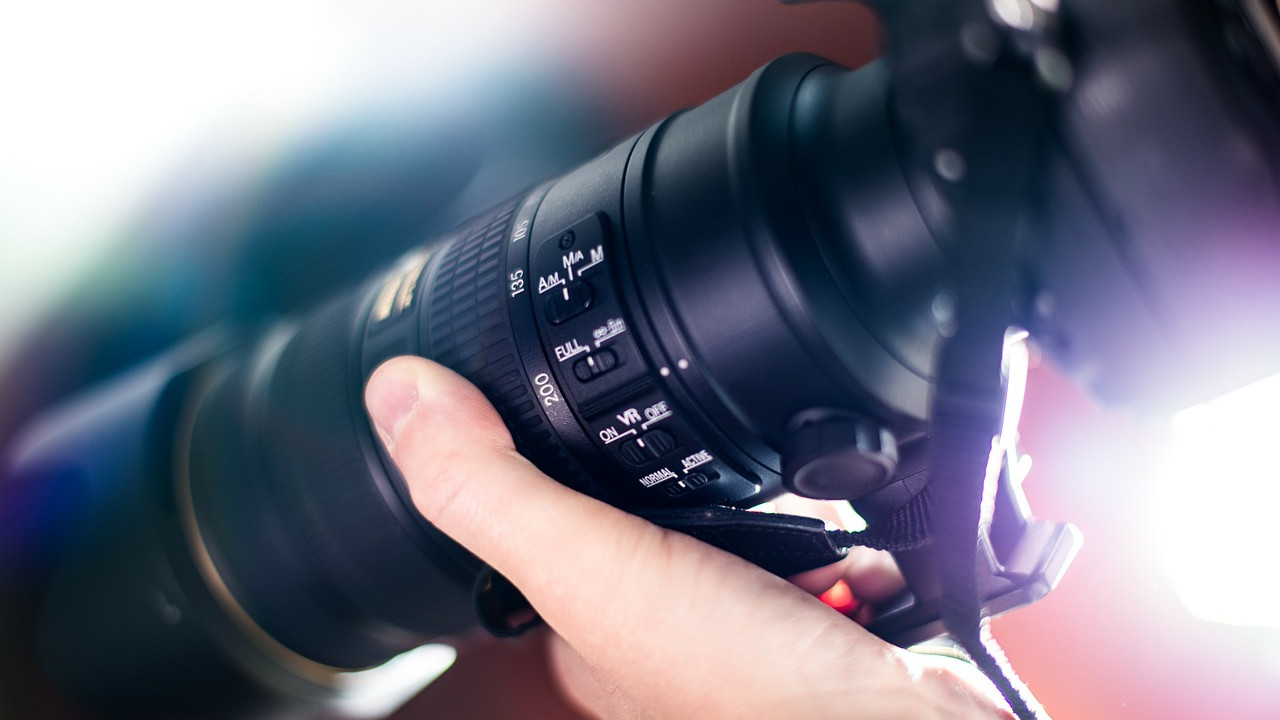
A compact camera should also have the option of adjusting the settings individually. For example, turning off the flash, turning off the autofocus, manually setting exposure times, and connecting a remote shutter release. Digital mirror reflex cameras usually always have individual settings adjustment options. When buying a DSLR, we also recommend you look out for one with mirror lock, as this will help produce better images when using the telescope, since it prevents vibration in the camera from mirror slap.
In contrast to compact cameras, with a DLSR camera you can photograph with or without a lens. If you want to take pictures directly through the telescope, you usually do not use a camera lens. You use a T-ring, which is available for every camera model, instead of the lens. The camera is connected to the telescope using a further adapter, thereby using the telescope with its long focal length as a lens. This type of photography is called prime focus photography.