Setting up an EQ mount correctly – we explain how
Do you own an EQ mount or want to buy one? Step-by-step: how to set up and polar-align your mount.
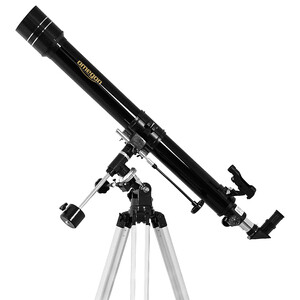
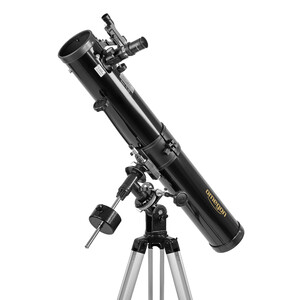
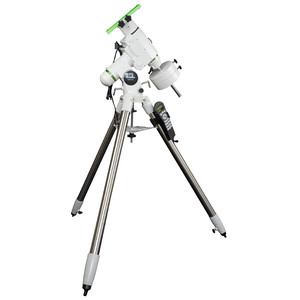
Equatorial mounts are an integral part of the astronomy market these days. They range from a compact EQ-1 for small entry-level telescopes to an EQ-6 with GoTo control for professional astrophotography. They are meanwhile available in countless types and versions and are produced by a range of manufacturers. The abbreviation EQ is used by many brands and stands for equatorial.
The numbers can give you a rough idea of what the mount is capable of, but they are not standardised. What makes them special: compared to an altazimuth mount, for example for a Dobsonian telescope, you have the advantage that an object only has to be set once, and then it can be tracked over an entire evening using just one axis. But for this to work, the mount must be correctly set up and polar-aligned. We'll show you how.
The best technique for setting up any EQ telescope
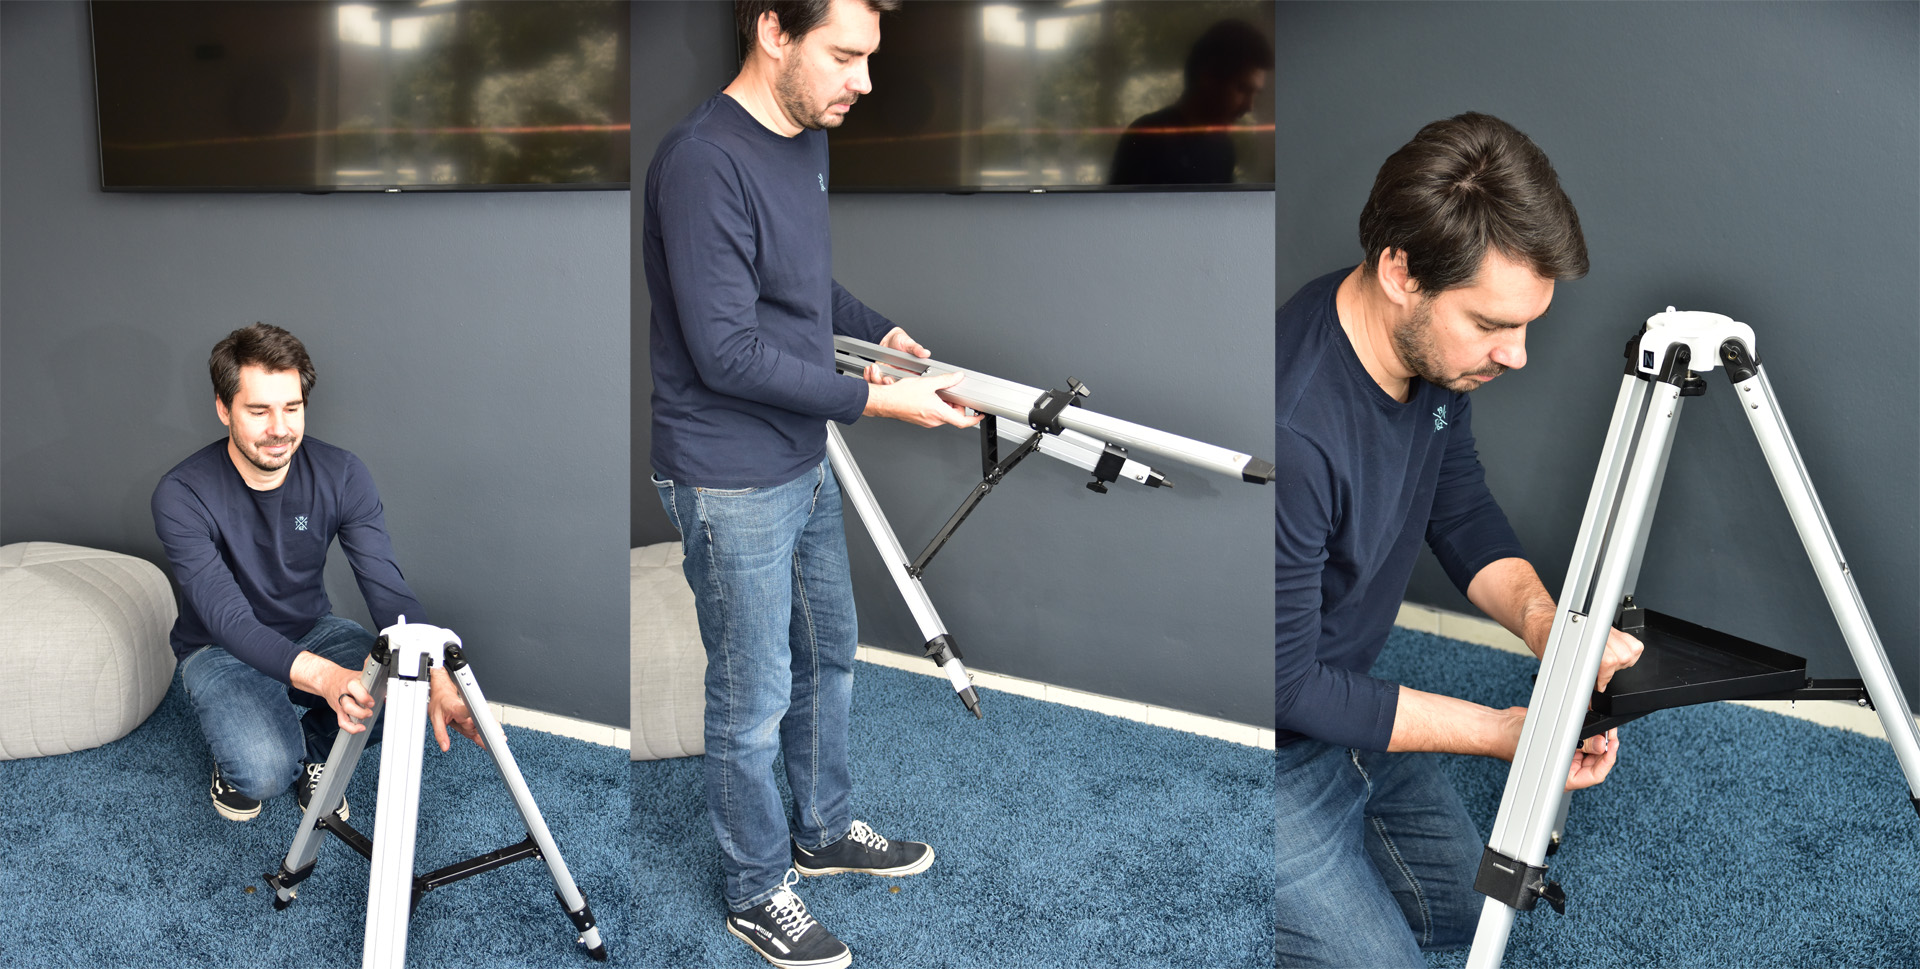
To start with, generally it is important to find the most level surface possible to set up your telescope and mount. Then the first step is to unfold the tripod, extend the legs and attach the accessory tray.
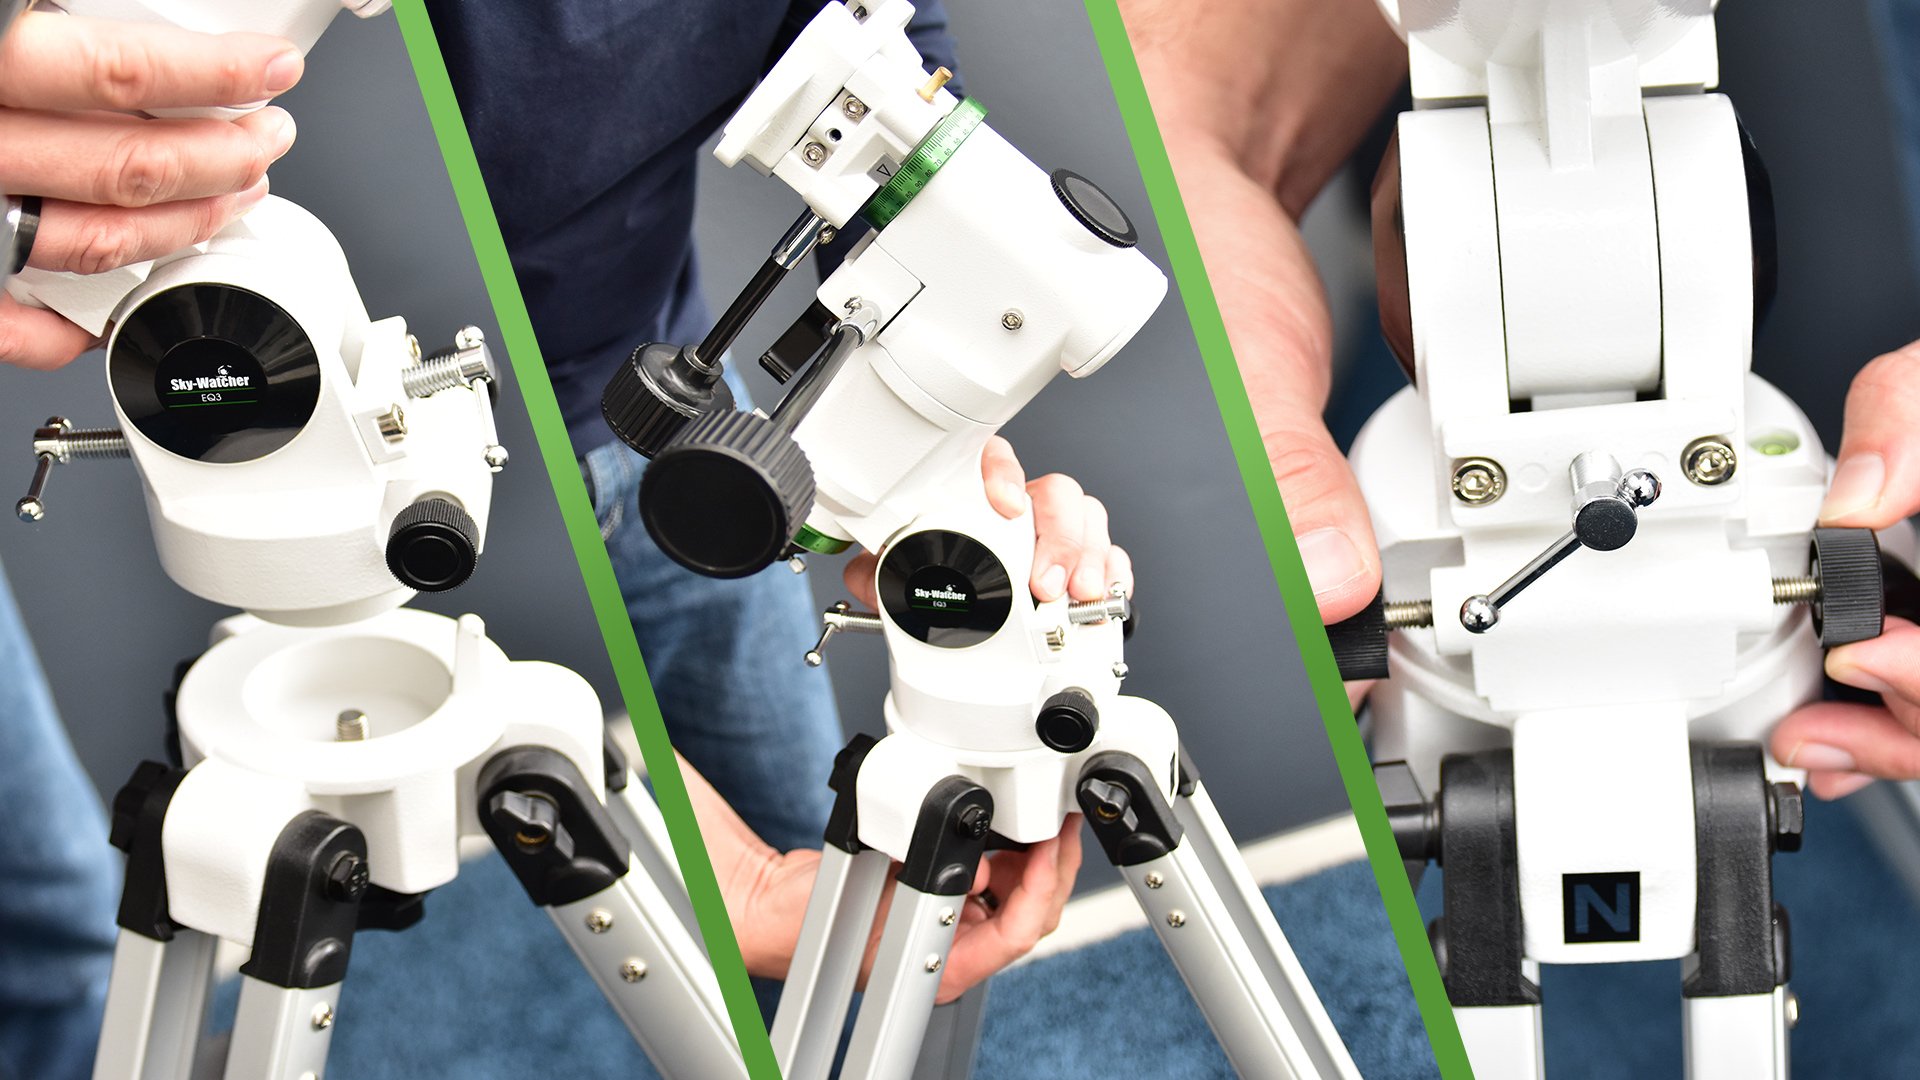
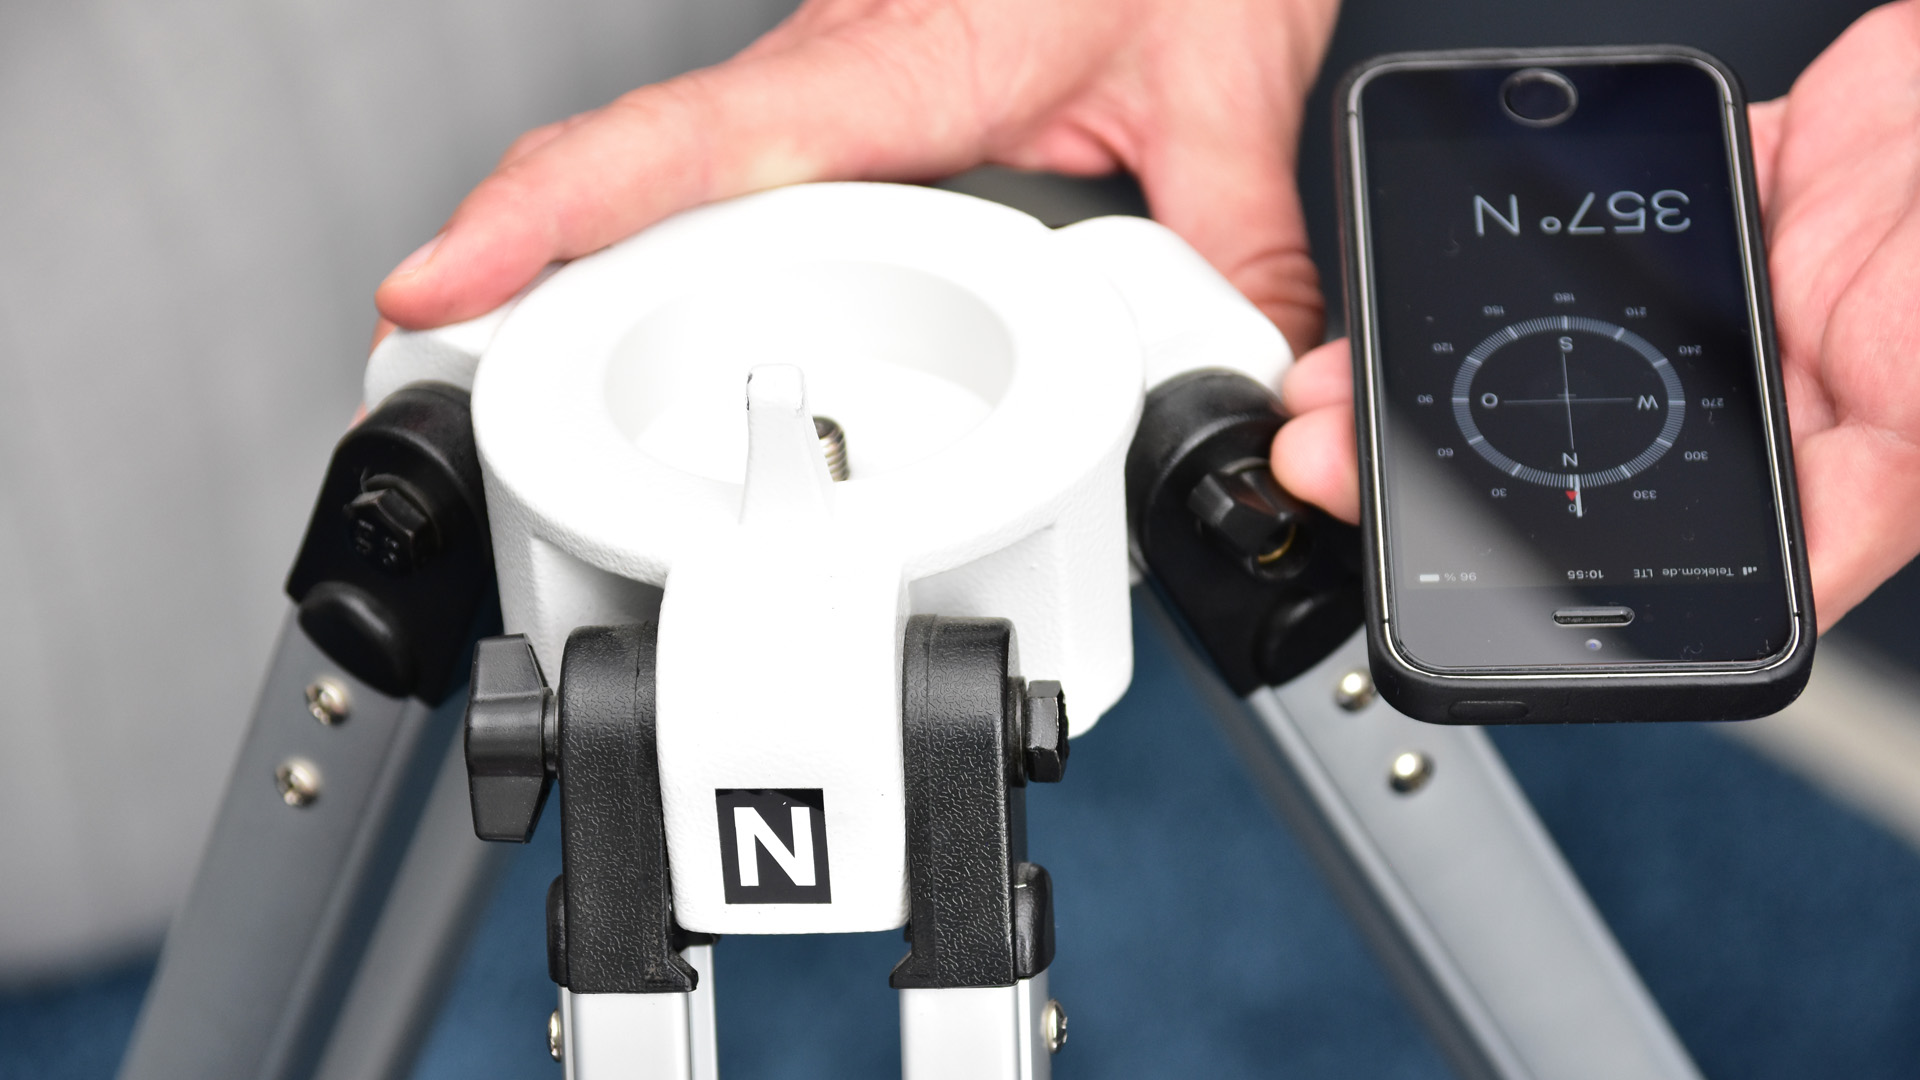
Next, use a compass to align the tripod to the north. Some models have a marking for this purpose. For all others, the peg that is used to ensure that the mount is correctly attached to the tripod can be used to identify where north is.
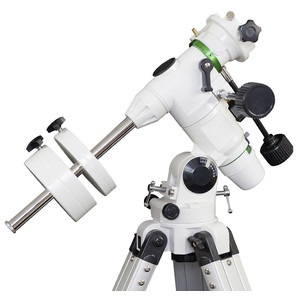
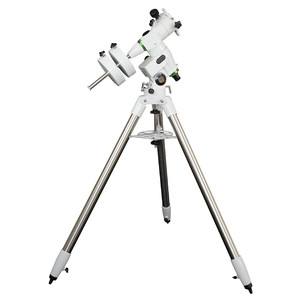
In the next step, set the mount onto the tripod and attach it using the azimuth screws and the large central screw.
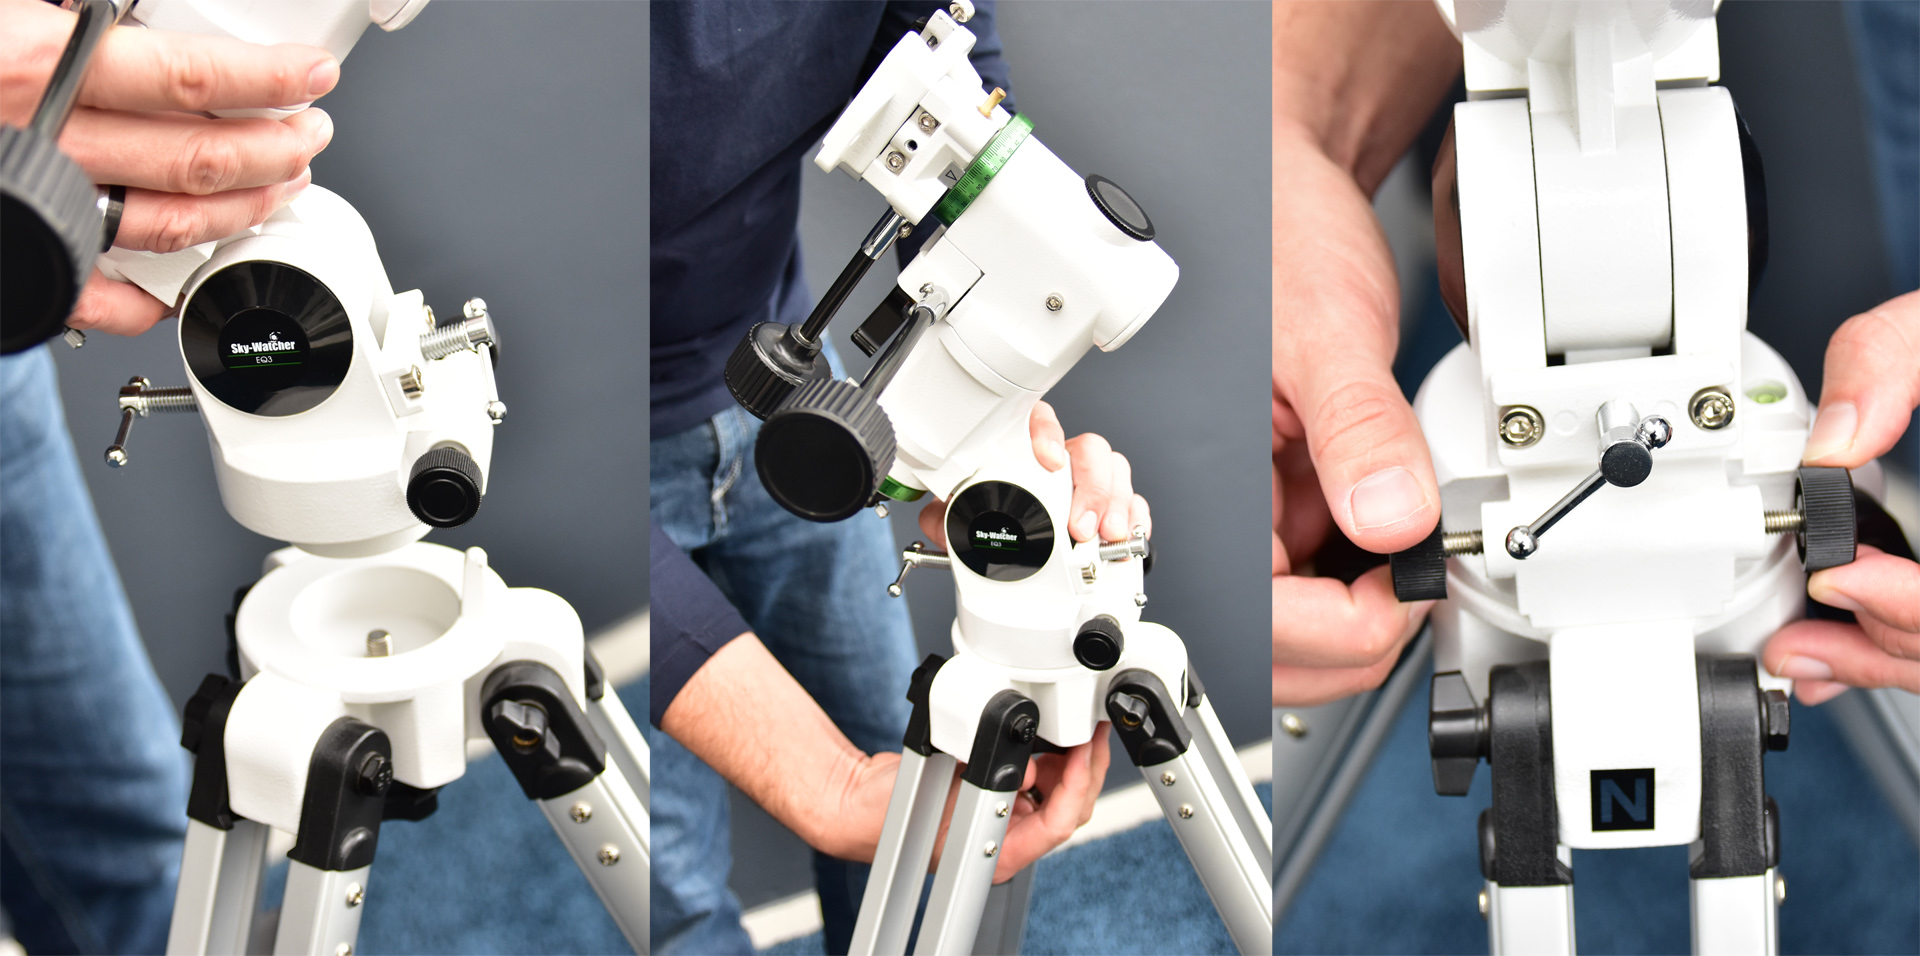
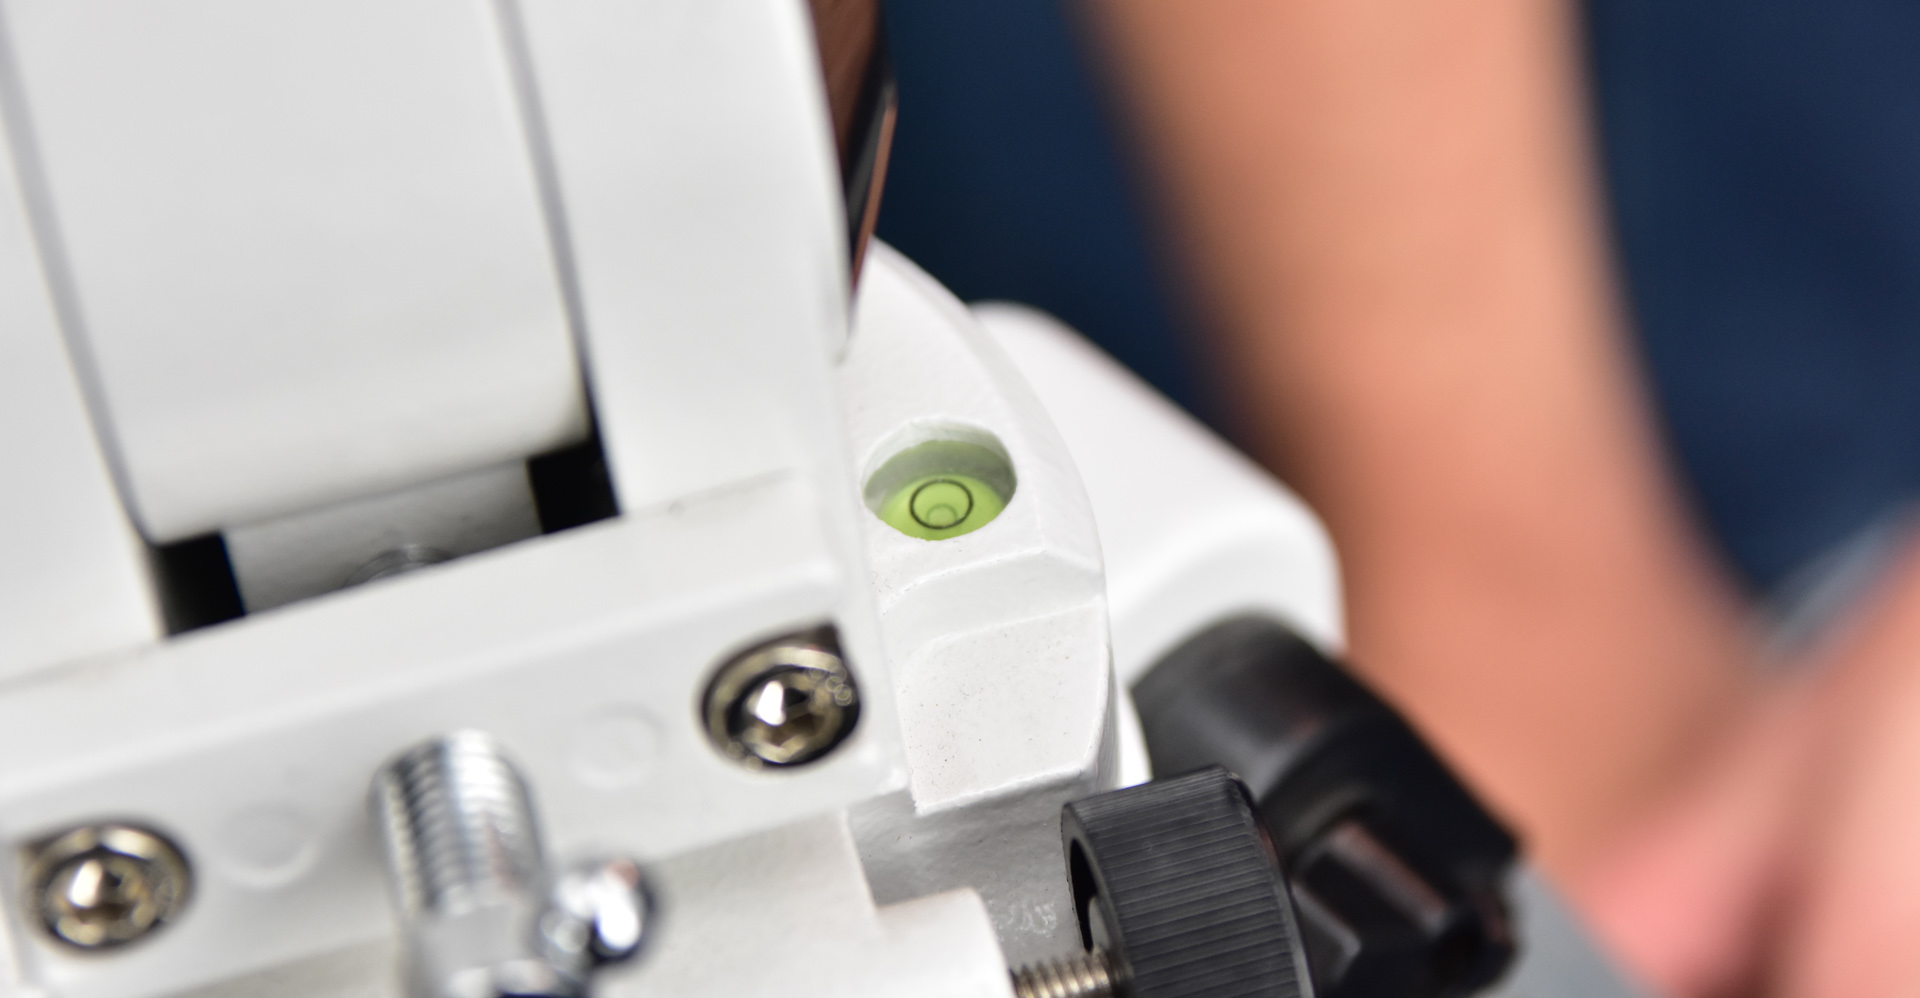
Now position the mount horizontally using the built-in spirit level or bubble level.
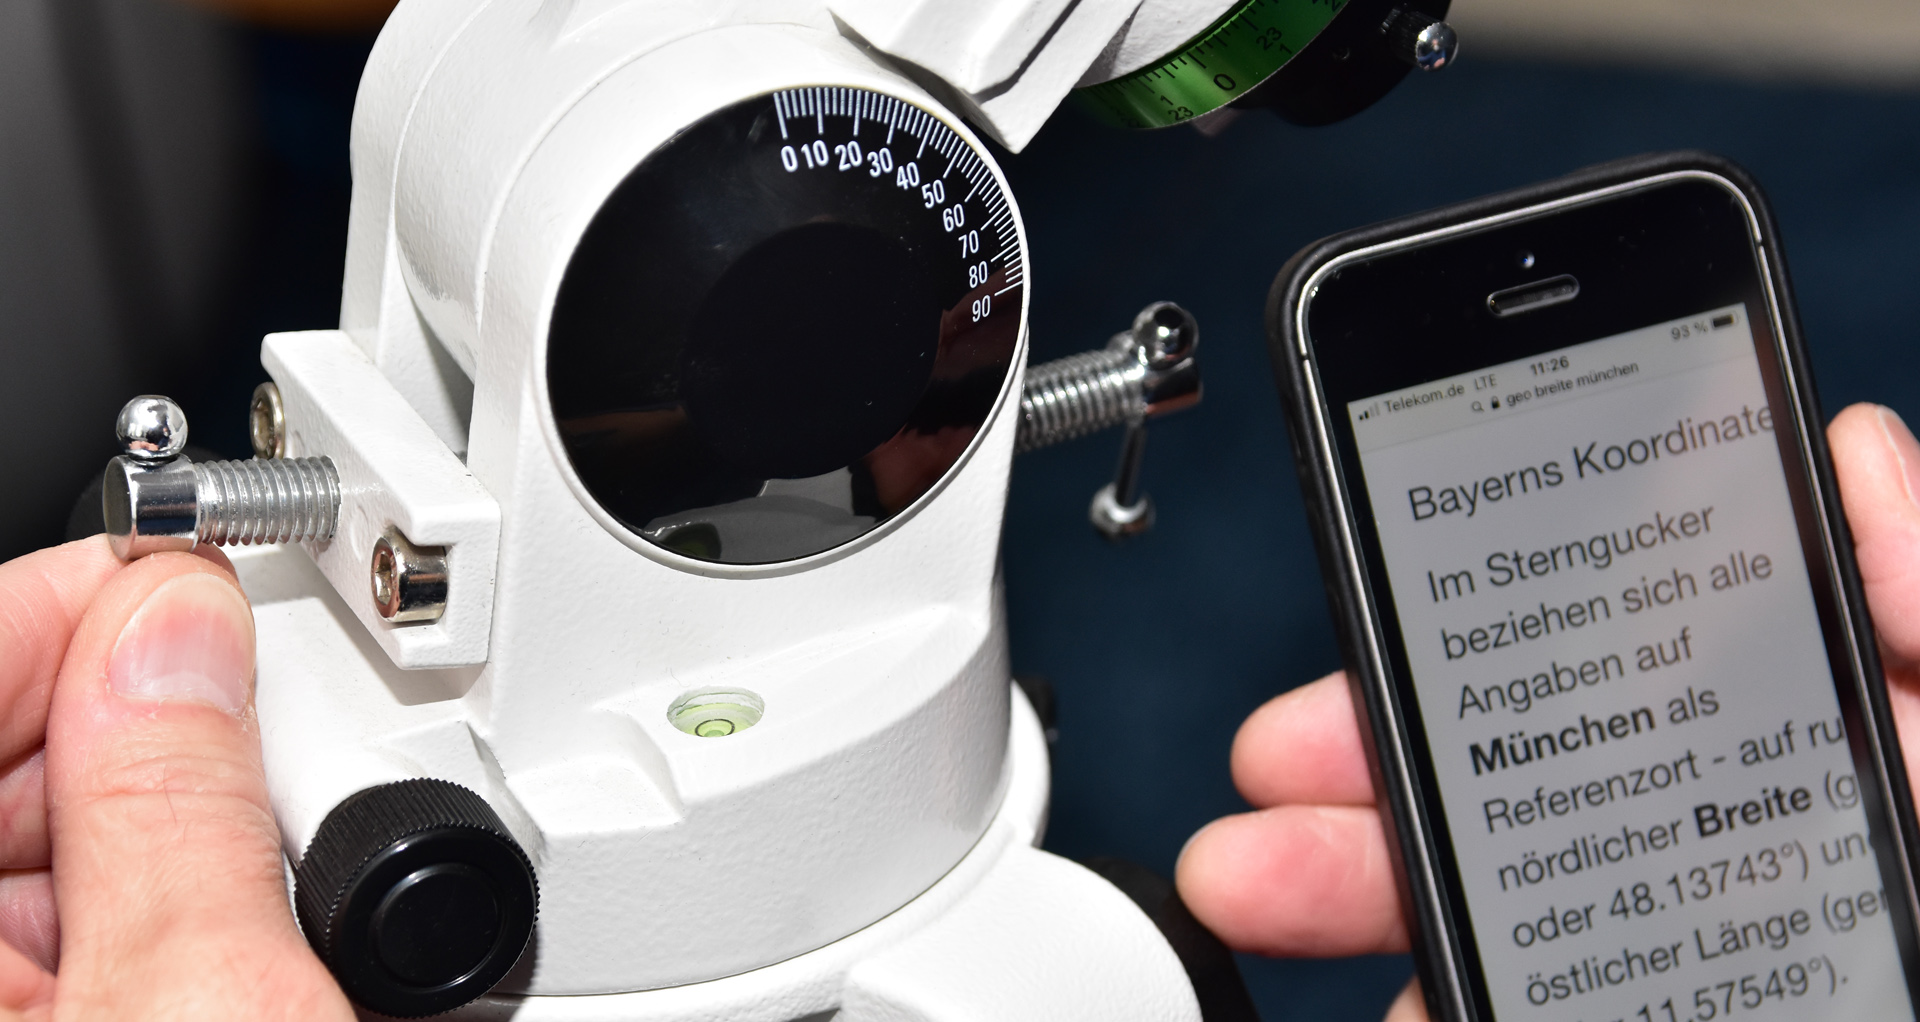
You can use the Internet to find out the latitude of any observation location. This is then set using the mount’s altitude adjustment screws.
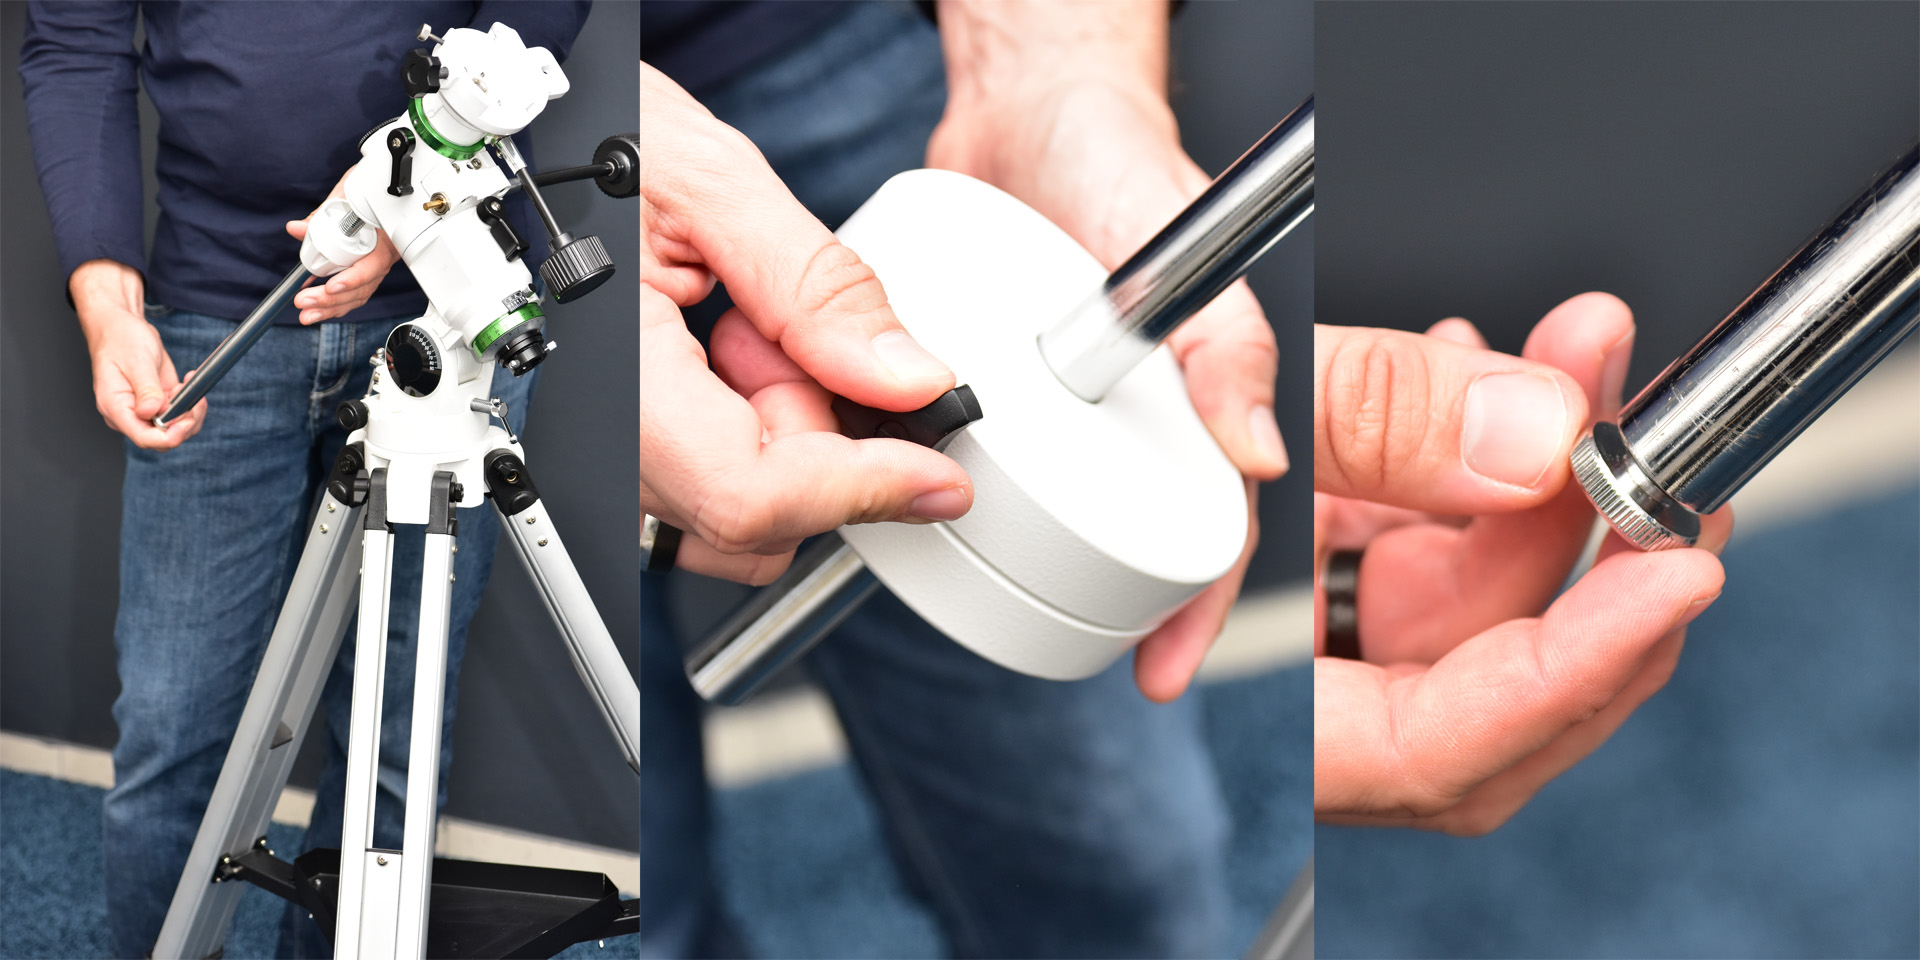
Then attach the counterweight bar and add the weight. Ensure that the weight cannot drop off the bar by fastening the screw at the end of the bar.
After checking that both axes are secured using the clamping bolts, the telescope can now be fitted.

To ensure that the telescope is well-balanced, first loosen the declination axis and balance the tube by sliding it along the prism rail. Then return the axis to its neutral position and clamp it. Now loosen the right ascension axis and adjust the counterweight until the axis is well-balanced. Caution: support the counterweight bar with one hand so that the tube does not swing uncontrolled in any direction.
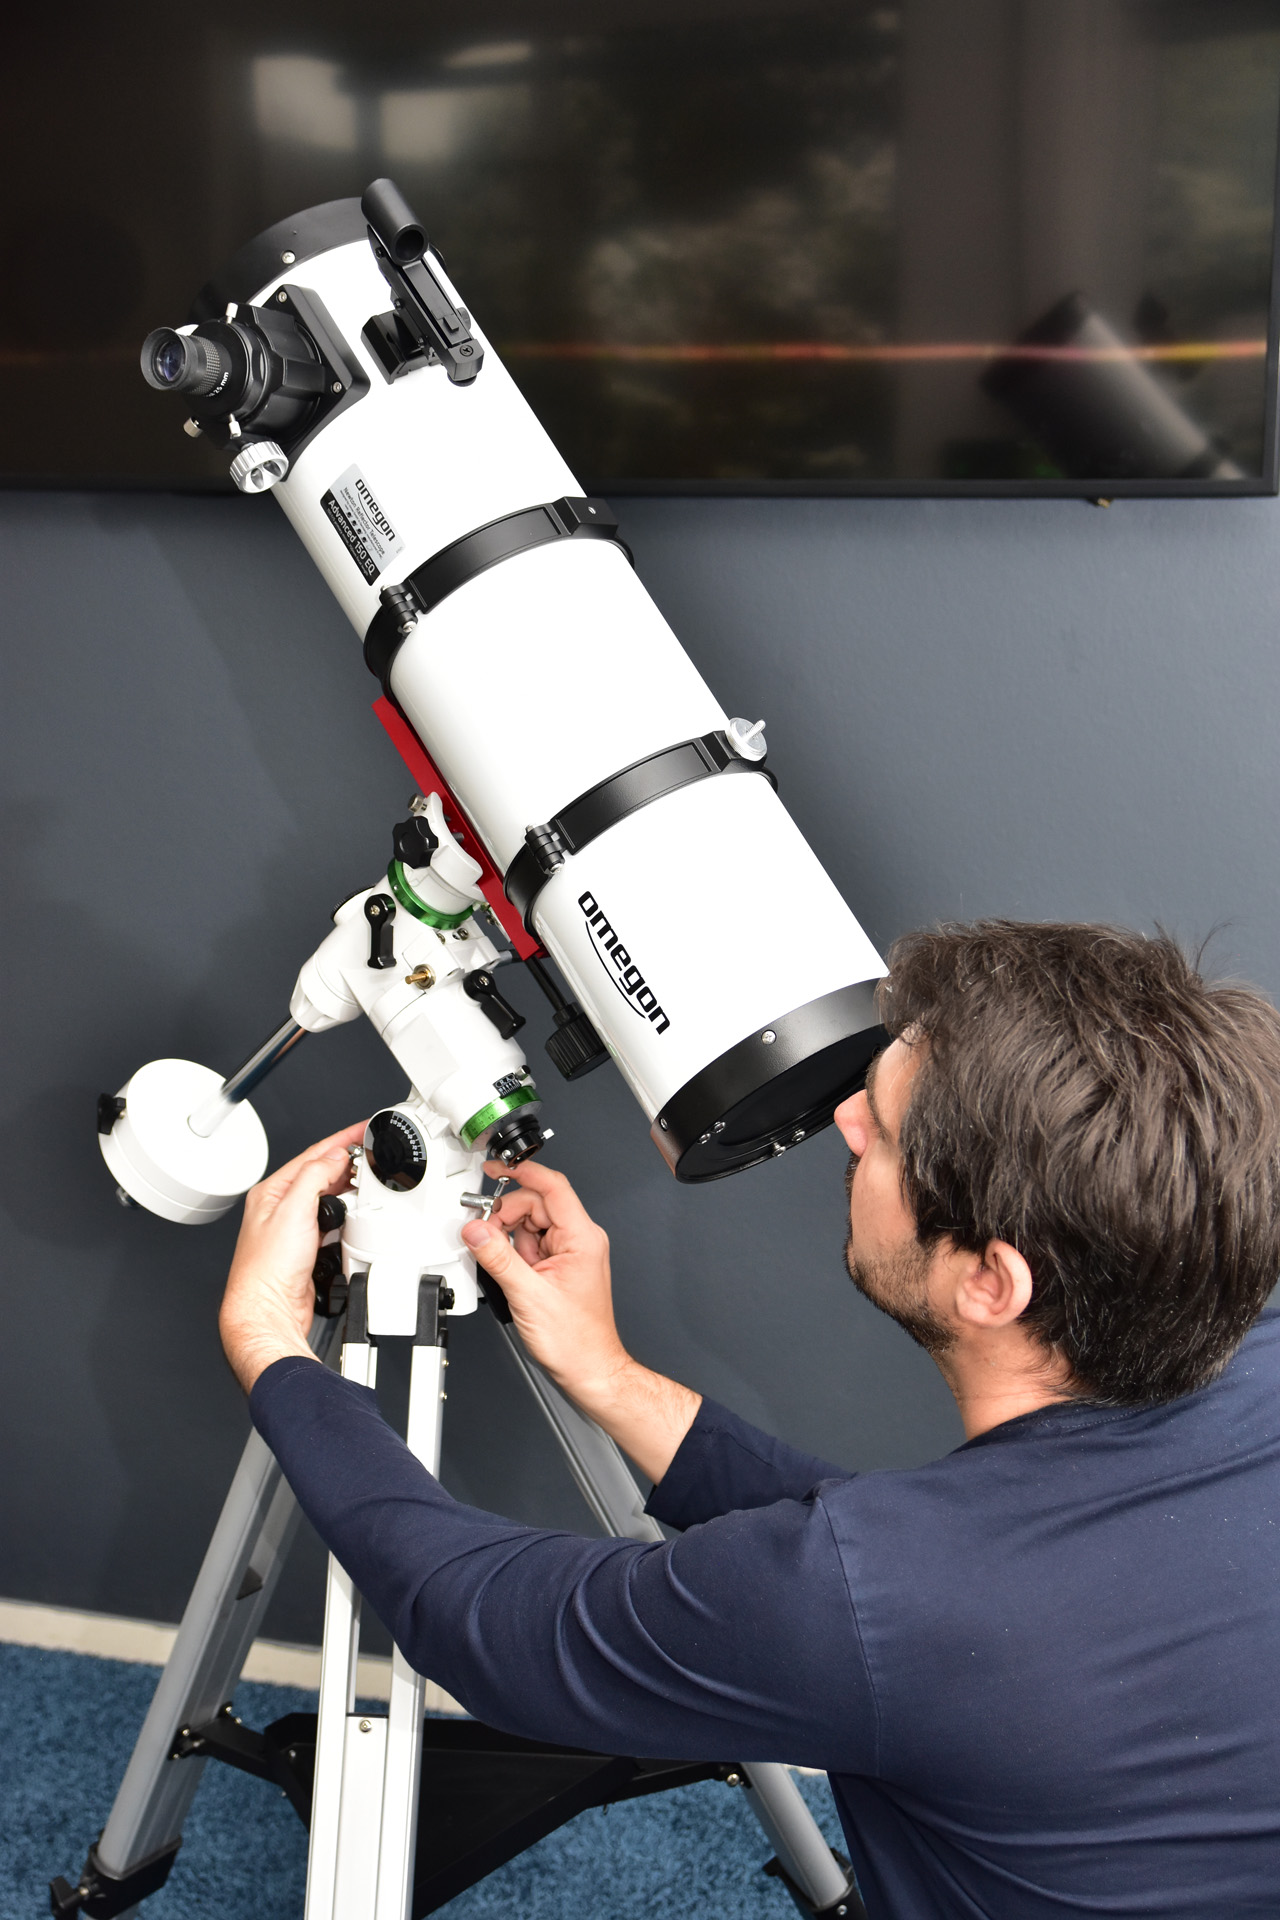
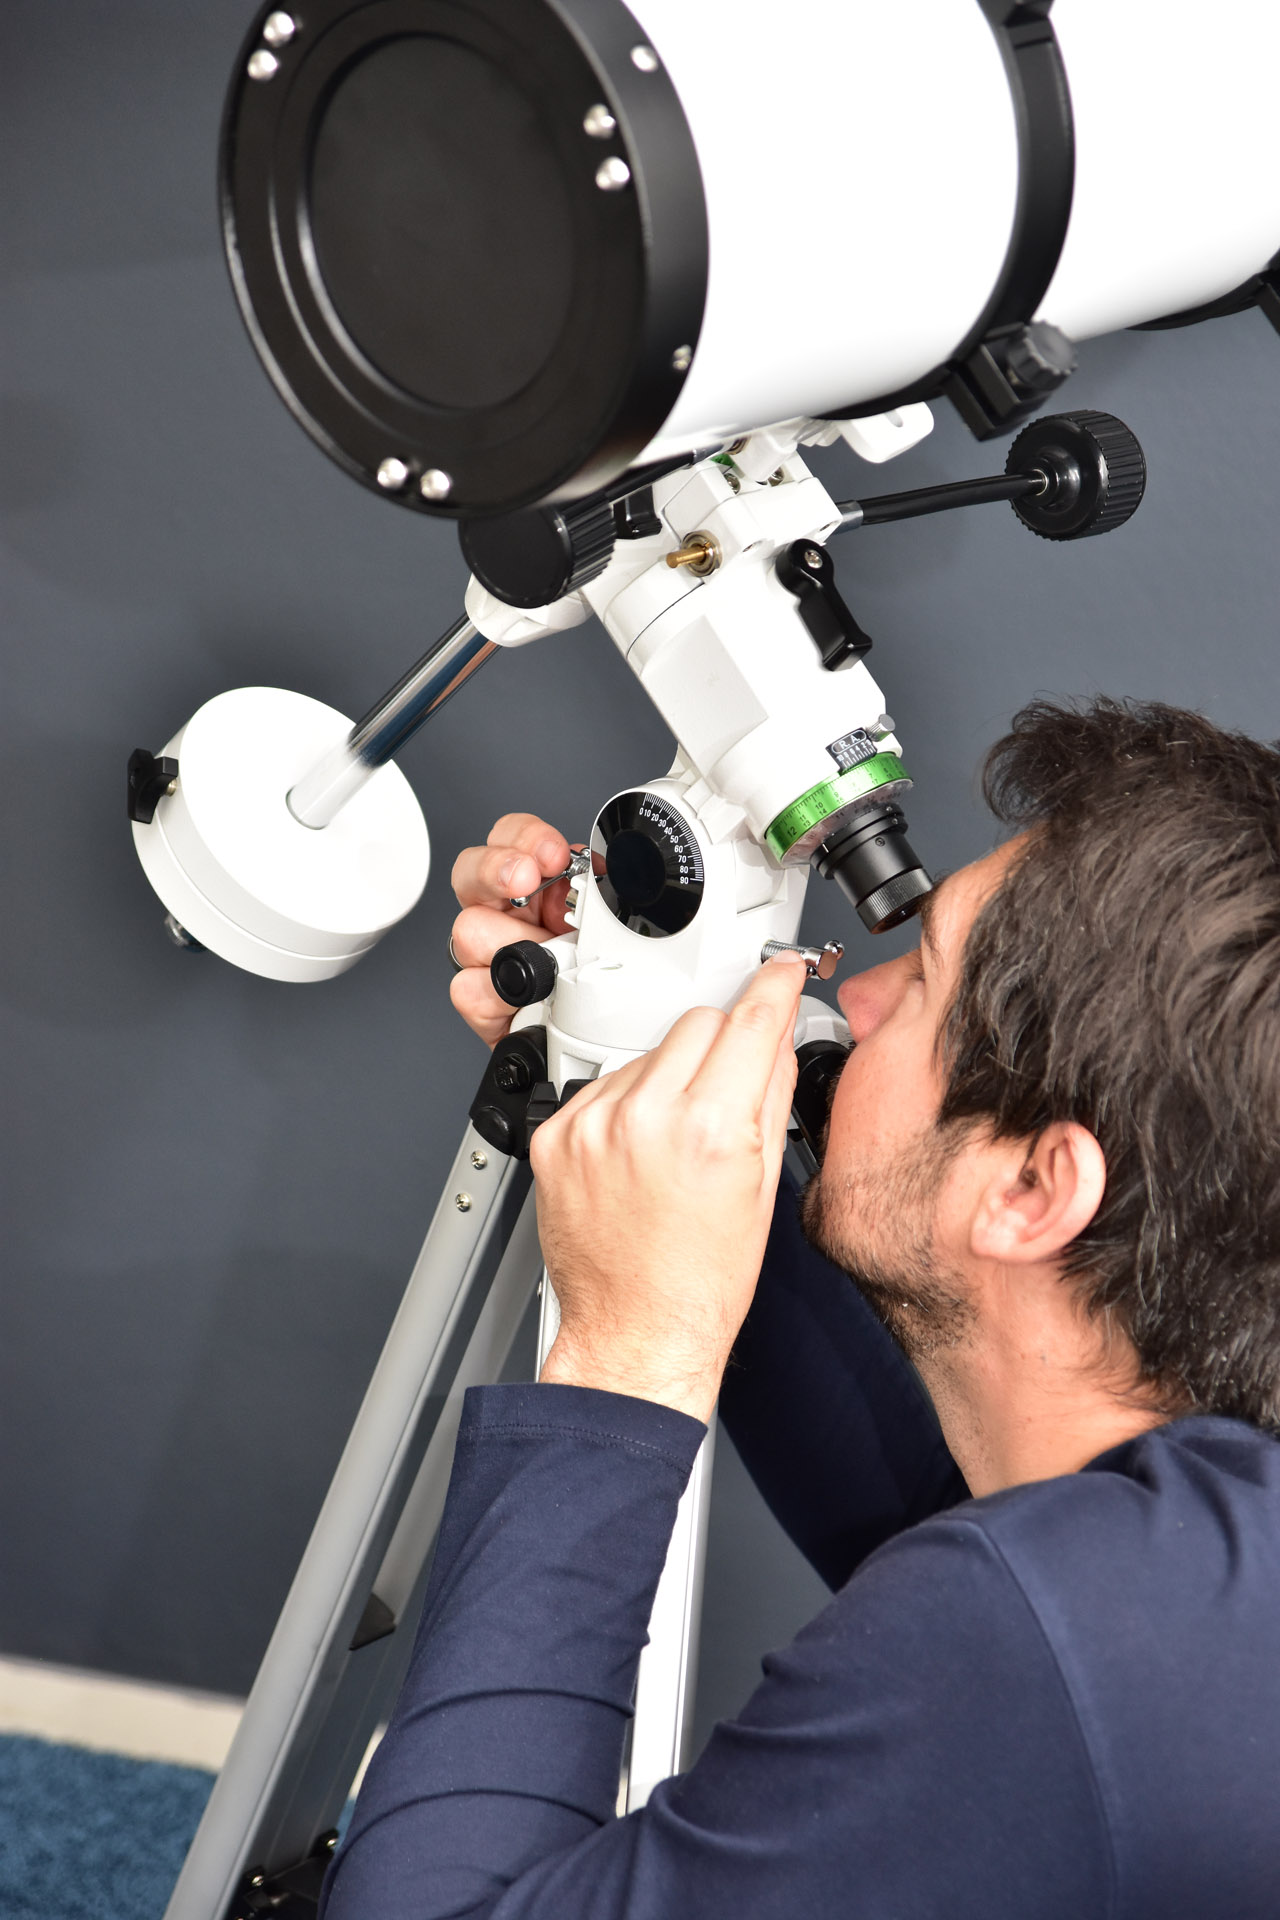
In the final step, return the mount to its neutral position and tighten both axes. Now centre the Pole Star in the telescope's finder-scope using the azimuth and altitude adjustment screws.

For a more accurate alignment, you can repeat the previous step while looking through the telescope eyepiece and centre the Pole Star in the field of view using the azimuth and altitude adjustment screws.
With this, the mount is set up with sufficient precision for visual use. If the mount is equipped with a polar finder, the tube is placed at a right angle and the Pole Star is located with the polar finder. For more information about polar alignment for astrophotography, please see our video.
Setting course for the celestial pole
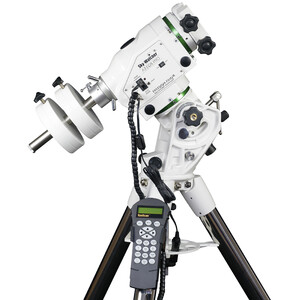
For mounts without a polar finder, it is sufficient to align the telescope roughly with the Pole Star. From an EQ-3 upwards, however, it makes sense to allow yourself plenty of time for polar alignment, especially if you are doing astrophotography, as this will guarantee you accurate tracking.
Precise polar alignment is a matter of practice. Don't expect to get it right first time. You have to get used to looking through the polar finder, and then ensuring that Polaris is in exactly the right position is also not so easy. The PolarScope Align app for smartphones is often useful. This will immediately show you, for different models of polar finders and for a given location, where Polaris should be placed in your polar finder reticle.
If you have a motorised mount, you can now switch on the mount and carry out the necessary setup on the hand-held control box. After that, you are ready for successful observing.